Introduction
Battery not lasting long? Swap it out.
What you need
-
-
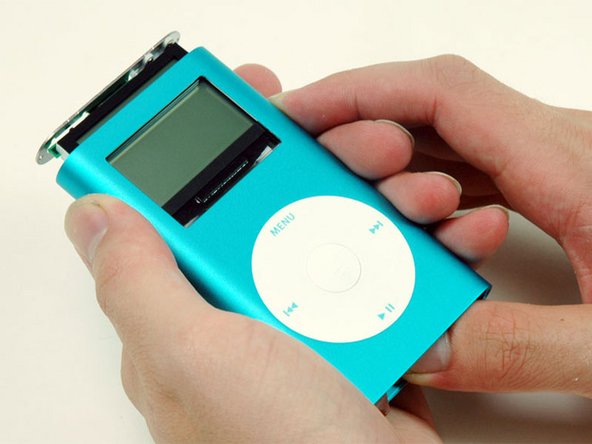
Carefully insert a small flathead screwdriver or Jimmy in the seam between the metal casing and white plastic top. Use the screwdriver to pry up the white plastic top bezel. Be careful not to damage the soft plastic with your screwdriver.
-
To make this job easier, heat up the adhesive with a hairdryer on low heat for a few seconds.
-
-
-
Carefully insert a small flathead screwdriver or Jimmy in the seam between the metal casing and white plastic bottom Use the screwdriver to pry up the white plastic bottom bezel. Be careful not to damage the soft plastic with your screwdriver.
-
-
-
-
A small pair of snap ring pliers is the easiest tool to remove the metal retaining bracket.
-
You can also use a flathead screwdriver to pry out the metal retaining bracket beneath the bottom bezel as shown. You can free the bracket by first pushing in the metal arms on the corners and then lifting the bracket.
-
-
-
Use a spudger or the tip of your finger to carefully disconnect the orange click wheel ribbon from the logic board.
-
Careful not to dig the spudger in too deep to avoid detaching the contact on the logic board. Try to keep the spudger as close to the orange click wheel ribbon connector as possible.
-


To reassemble your device, follow these instructions in reverse order.
To reassemble your device, follow these instructions in reverse order.
Cancel: I did not complete this guide.
356 other people completed this guide.

28 Comments
i cant seem to slide it away from the casing, im pushing on the charger port and no movement what so ever
Maybe the metal is bent, or the plastic on the top of the unit is somehow stuck. I'd look for a bend or disfigured metal, though.
nclee -
@mrmacfixit you must have. If it's the same voltage as the old battery, it will work, but you DON'T want to risk puncturing it forcing it into the case.