Introduction
If your PlayStation is no longer registering controller input or recognizing memory cards, it may be time to replace the controller ports on the console. This guide will take you through the process of replacing this component, which includes the controller ports and the memory card slots in one assembly.
Note: This repair is demonstrated on a SCPH-1001 model. The process may differ slightly if you have a later model.
What you need
-
-
Turn the console upside down and remove the five 15.8 mm-long Phillips #1 screws.
-
-
-
-
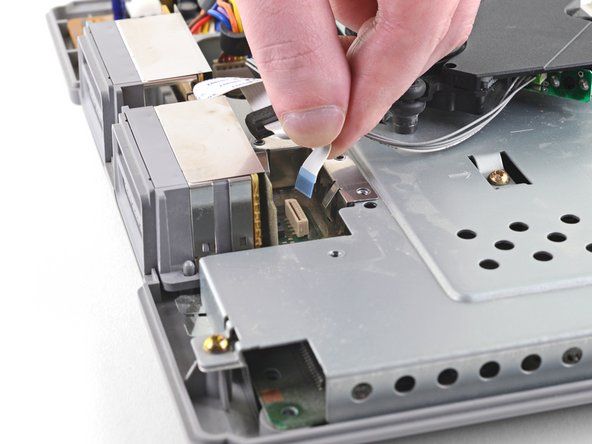
Remove five Phillips #1 screws securing the metal shield to the controller ports:
-
Two 14 mm screws
-
Three 8 mm screws
-


Compare your new replacement part to the original part—you may need to transfer remaining components or remove adhesive backings from the new part before installing.
To reassemble your device, follow the above steps in reverse order.
Take your e-waste to an R2 or e-Stewards certified recycler.
Repair didn’t go as planned? Check out our Answers community for troubleshooting help.
Cancel: I did not complete this guide.
11 other people completed this guide.

5 Comments
I changed the controller port but the psx still doesn't recognize any controller. Both controller port and ribbon cable work perfect in other console. I wonder which components on the mother board are related with the controller ports so I can check them with a tester.
I replaced the PS605 fuse and now the controllers work again! Thanks to this video https://www.youtube.com/watch?v=HdULot5F...
I'm having a weird issue, it will read in second do
Port but not the first. Changed controller port and still having the same issue