What you need
Video Overview
-
-
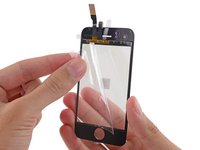
If your display glass is cracked, keep further breakage contained and prevent bodily harm during your repair by taping the glass.
-
Lay overlapping strips of clear packing tape over the iPhone's display until the whole face is covered.
-
-
-
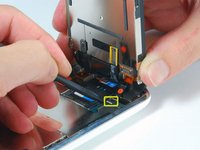
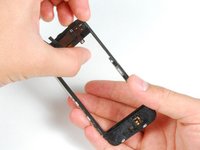
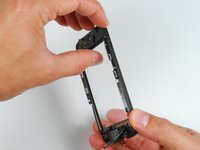
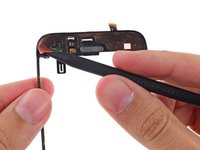
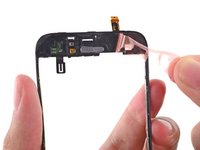
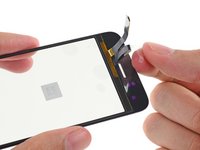
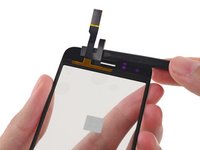
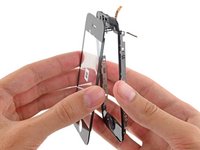
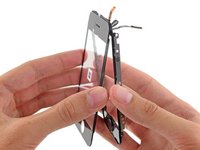
Continue to hold the display assembly with one hand, and use your other hand and a spudger to disconnect the black ribbon cable labeled "1."
-
Ribbon cable "1" is connected with a plug style connector. The block at the end of the cable is the plug which is simply pushed into a socket on the circuit board. No other locking mechanism is used.
-
-
-
-
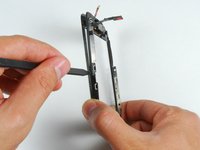
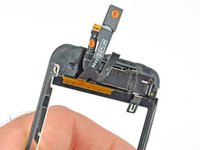
If the glass has shattered at the top or bottom be especially patient and gentle when removing fragments. In extreme cases you may have to pick off any glass shards that remain glued to the plastics.
-
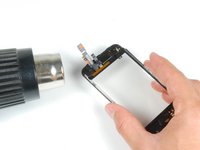
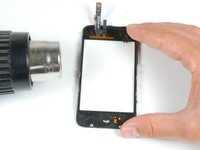
Using a heat gun or hairdryer, heat the top left area of the touch screen.
-
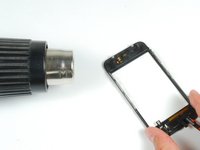
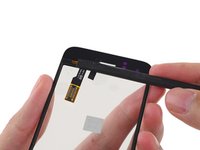
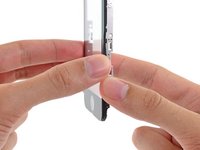
Use your fingernails to slowly lift up the left corner. The touch screen plastics are held to the touch screen with adhesive. It may take some work to free the corners.
-
Heat and repeat for the right side.
-


To reassemble your device, follow these instructions in reverse order.
Cancel: I did not complete this guide.
479 other people completed this guide.


17 Guide Comments
Success! It took me quite abit longer than some of those above, but in under 3hrs, it was complete. I am totally satisfied; the only potential problem I've found is that the rubber originally covering the front panel glass and the front panel plastic on the side--i.e., the rubber filling in the gap between the glass and the metal bevel/bezel?sp?--had been partially destroyed during the repair. Now there are spots at the top and bottom where dust could potentially get into the internals more easily. As it is, I opened my phone and it was extremely dusty, so that if it worked well with that kind of dust, I suppose it'll be alright with some more. Besides, now I know how to open it up and clean it! Thanks iFixit! You saved me $140, which is what Apple would have charged to fix my screen.
Quote from Chelsea:
Everything worked except now my home button does not work, help please.
Is the front panel completely snapped into place? I believe there are some contacts on the front panel that have to touch contacts on the inside of the phone for the home button to work.
I have followed all the steps and the phone has turned on, BUT it wont let me slide to open. HELP!!
I'm assuming Sally found the problem to this issue of the phone working but I just had the same problem of no touch screen even though the phone and screen were working otherwise.
Re-open the phone and ensure Cable #2 just isn't attached properly. If this is loose or not correctly connected then the screen will come on but the touch screen won't work.
andrew -