Introduction
Use this guide to replace a broken display frame. To replace a broken glass panel, use our front panel assembly guide.
What you need
-
-
If your display glass is cracked, keep further breakage contained and prevent bodily harm during your repair by taping the glass.
-
Lay overlapping strips of clear packing tape over the iPad's display until the whole face is covered.
-
Do your best to follow the rest of the guide as described. However, once the glass is broken, it will likely continue to crack as you work, and you may need to use a metal prying tool to scoop the glass out.
-
-
-
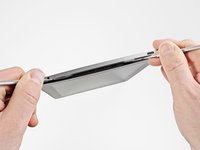
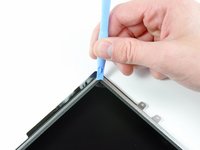
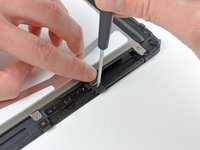
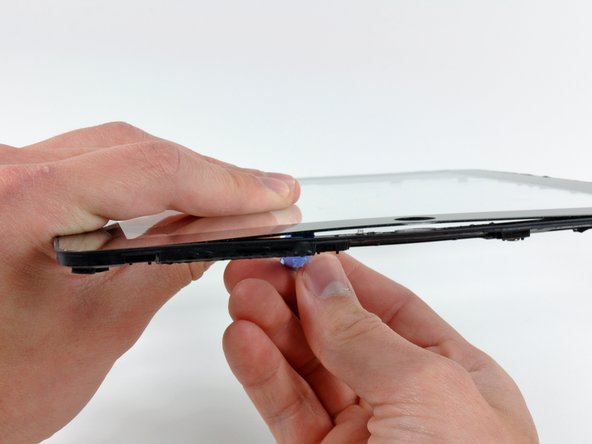
Insert a metal spudger between the top edge of the display assembly and the rear panel assembly.
-
Rotate the spudger away from you to release the tabs along the top edge of the display.
-
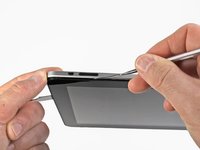
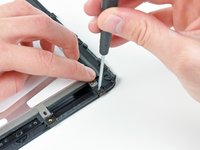
Insert a second metal spudger between the top edge of the display assembly and the rear panel assembly to keep the tabs from snapping back into place.
-
-
-
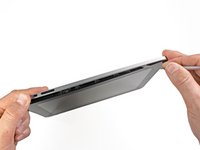
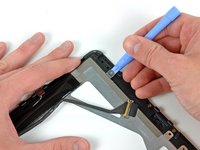
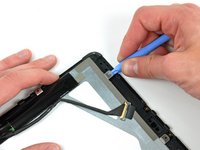
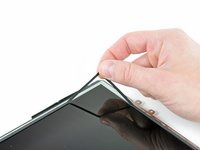
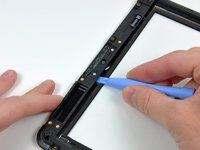
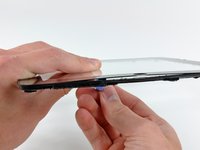
With one spudger, work your way along the right edge of the iPad.
-
The front panel is held to the aluminum back by metal clips on the top, bottom, and left sides. The right side has plastic tabs which slide into recesses in the backplate.
-
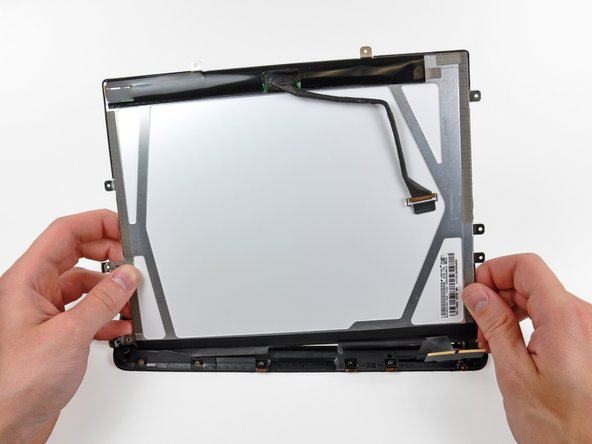
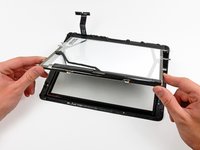
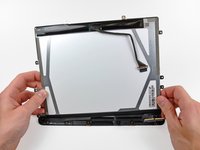
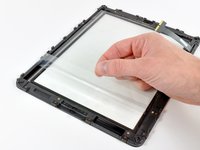
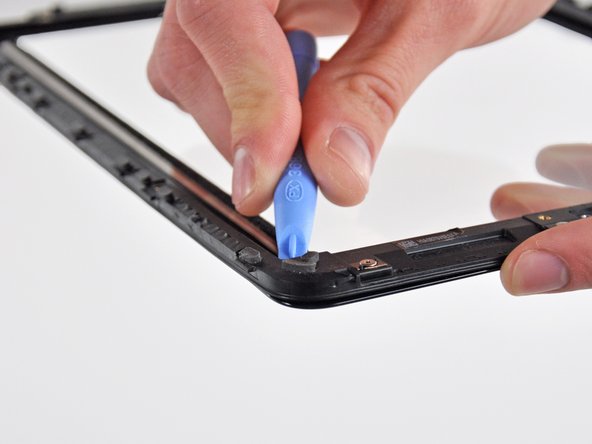
Once the clips are released, lift the left side of the front panel up and slide it to the left to clear the tabs from the aluminum backplate.
-
-
-
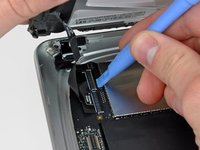
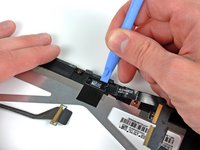
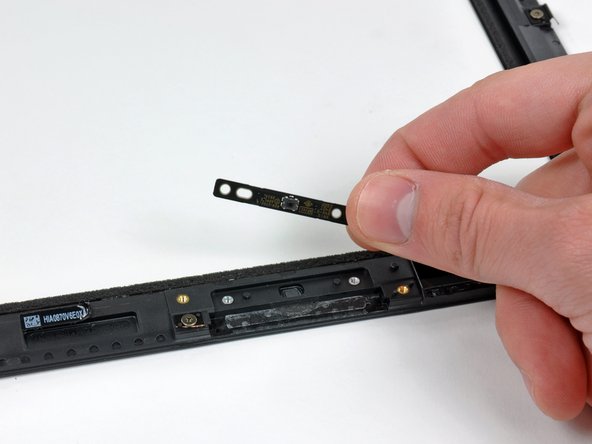
Use the edge of a plastic opening tool to carefully pry the ambient light sensor board off the adhesive securing it to the display frame.
-
Once you've gained enough clearance, peel the ambient light sensor off the LCD.
-
-
-
-
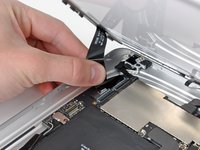
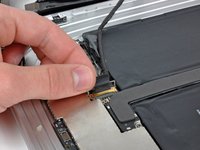
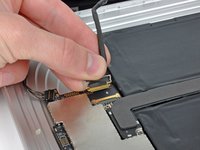
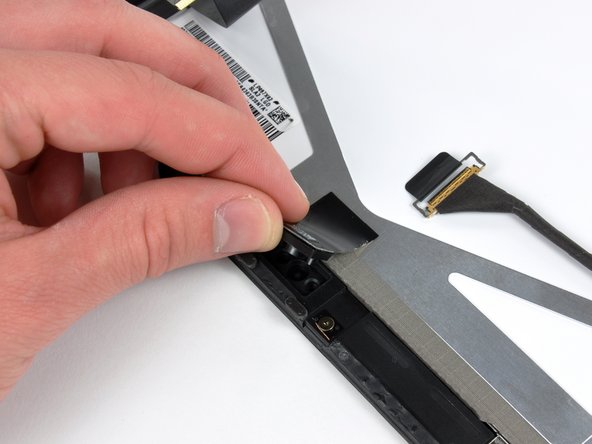
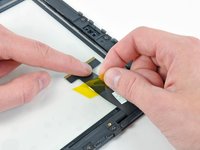
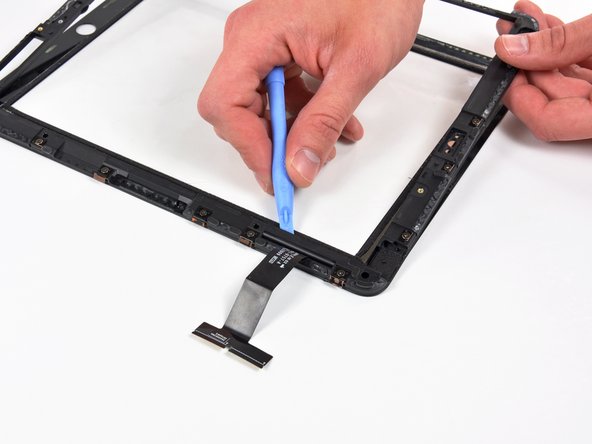
While holding the digitizer cable down, carefully peel back the piece of tape connecting the digitizer cable to the display frame.
-
-
-
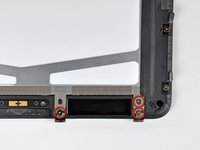
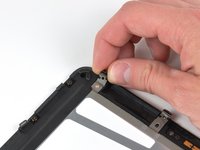
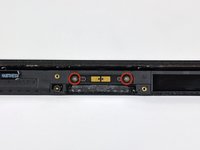
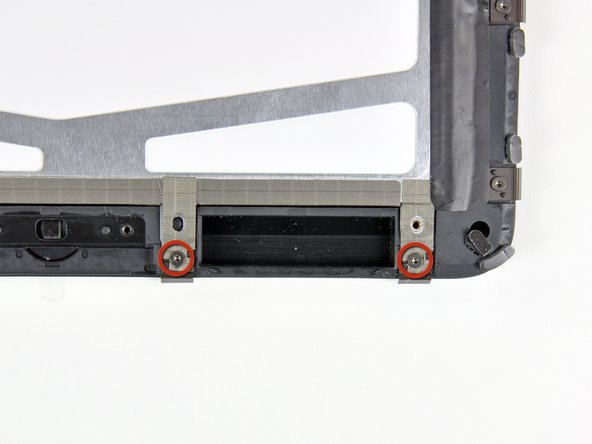
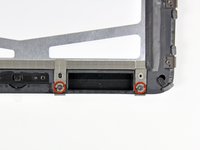
Remove the two T5 Torx screws securing the home button switch to the plastic display frame.
-
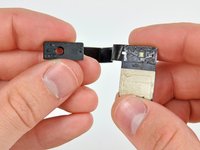
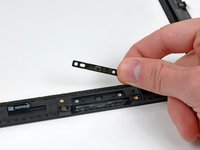
Remove the home button switch board from the front panel assembly.
-
-
-
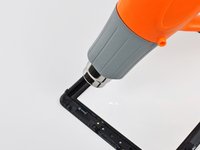
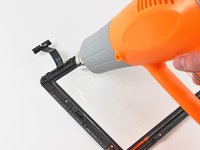
Use a heat gun to gently heat the plastic display frame near the home button from the inner side of the front glass panel.
-
-
-
Heat the lower right corner (as viewed from the front of the iPad) of the plastic display frame to soften the adhesive securing it to the front glass panel.
-
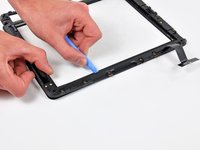
Use your plastic opening tool to continue to pry the plastic frame away from the front glass panel, being careful not to damage the rubber strip around the glass panel's perimeter.
-
-
-
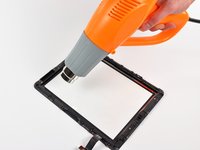
Lightly heat the rubber connection area. Use a plastic opening tool to separate the plastic display frame from the front glass panel enough to access the rubber area.
-
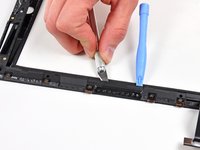
While holding the display frame away from the front glass, use a razor blade to carefully cut through the many rubber "dots" attaching the frame to the front panel.
-
-
-
To separate the ribbon cable side of the display bracket, begin by heating near the lower left corner of the panel (as viewed from the front of the iPad).
-
Carefully separate the lower edge of the ribbon cable side of the frame until you reach another area where rubber connects the frame to the glass panel.
-
Repeat the process outlined in previous steps to cut through the rubber "dots" connecting the two pieces.
-


To reassemble your device, follow these instructions in reverse order. For final re-assembly of the top to the base make sure you fit the right side first which has fixed lugs as opposed to the clips. Failure to do this means you will need another set of retaining clips!
Cancel: I did not complete this guide.
38 other people completed this guide.
