Matsunichi M97 9 inch Battery Replacement

What you need

  1. Matsunichi M97 9 inch Battery Replacement, Battery: step 1, image 1 of 1
    • Open the micro SD cover located on the back of the device.

  2. Matsunichi M97 9 inch Battery Replacement: step 2, image 1 of 1
    • Using the Phillips #00 screwdriver, remove the two 4mm screws next to the micro SD port.

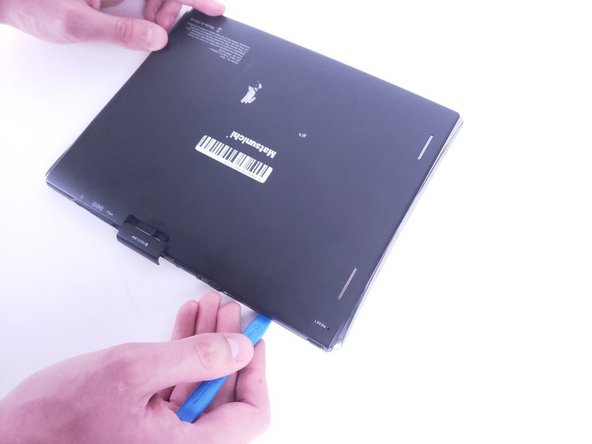
  3. Matsunichi M97 9 inch Battery Replacement: step 3, image 1 of 3 Matsunichi M97 9 inch Battery Replacement: step 3, image 2 of 3 Matsunichi M97 9 inch Battery Replacement: step 3, image 3 of 3
    • Use the iFixit opening tool to pry off the back cover of the device.

    • The volume buttons and the lock switch will come loose when the back comes off.

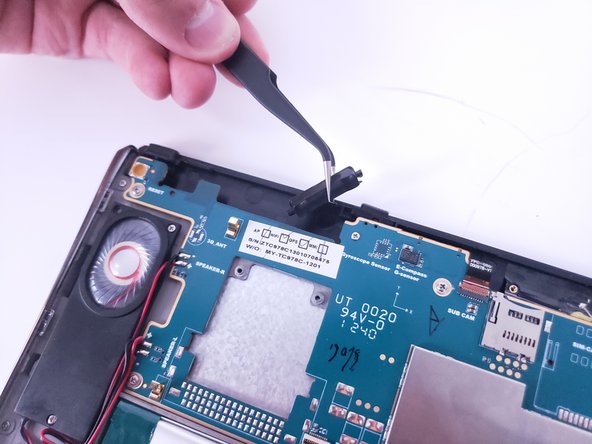
  4. Matsunichi M97 9 inch Battery Replacement: step 4, image 1 of 2 Matsunichi M97 9 inch Battery Replacement: step 4, image 2 of 2
    Tool used on this step:
    Tweezers
    $4.99
    Buy
    • Use a pair of tweezers to disconnect the battery from the motherboard.

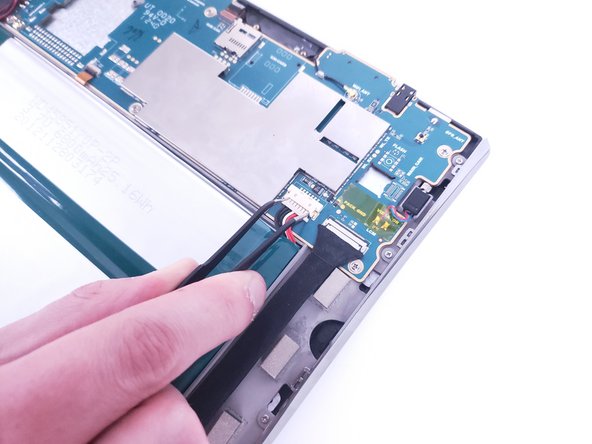
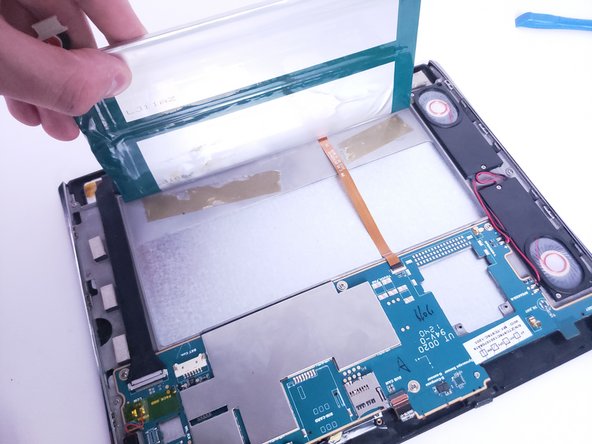
  5. Matsunichi M97 9 inch Battery Replacement: step 5, image 1 of 2 Matsunichi M97 9 inch Battery Replacement: step 5, image 2 of 2
    • Carefully unstick the battery from the frame using the spudger.

    • Do not bend or puncture the battery during removal.

Conclusion

To reassemble your device, follow these instructions in reverse order.

One other person completed this guide.

0 Comments

Add Comment

View Statistics:

Past 24 Hours: 0

Past 7 Days: 0

Past 30 Days: 14

All Time: 371