Introduction
Use this guide to replace a blown speaker enclosure closest to the bottom edge of the iPhone 4 Verizon.
What you need
-
-
Power off your iPhone before beginning disassembly.
-
Your phone's rear cover may have two #000 Phillips screws or Apple's 5-Point "Pentalobe" screws. Check which screws you have, and ensure you also have the correct screwdriver in order to remove them.
-
Remove the two 3.6 mm Pentalobe or Phillips #000 screws next to the dock connector.
-
-
-
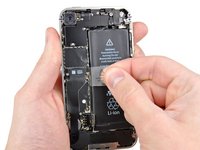
Remove the single 1.5 mm Phillips screw securing the battery connector to the logic board (if present).
-
-
-
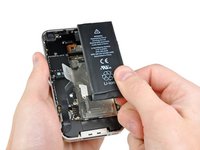
Pull up on the exposed clear plastic tab to peel the battery off the adhesive securing it to the iPhone.
-
If there's any alcohol solution remaining in the phone, carefully wipe it off or allow it to air dry before installing your new battery.
-
Remove the battery.
-
Before reassembly, clean metal-to-metal contact points with a de-greaser such as windex. The oils from your fingers have the potential to cause wireless interference issues.
-
Perform a hard reset after reassembly. This can prevent several issues and simplify troubleshooting.
-
-
-
-
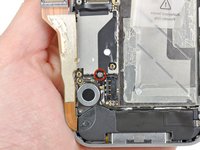
Remove the two 1.8 mm Phillips screws securing the dock connector cable cover to the logic board.
-
Remove the metal dock connector cable cover.
-
-
-
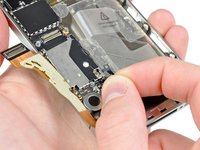
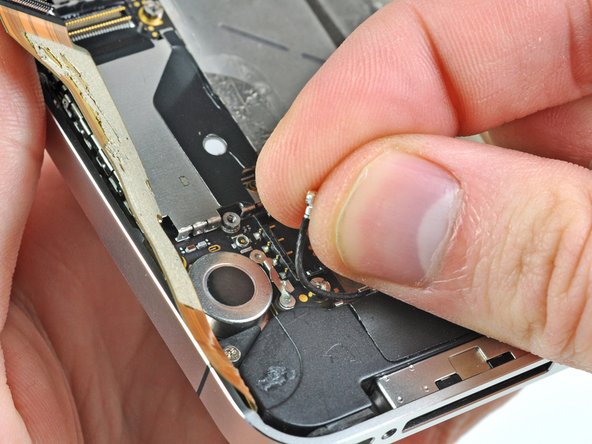
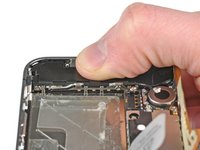
Remove the two 1.6 mm Phillips screws securing the cellular antenna to the speaker enclosure.
-
-
-
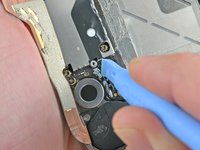
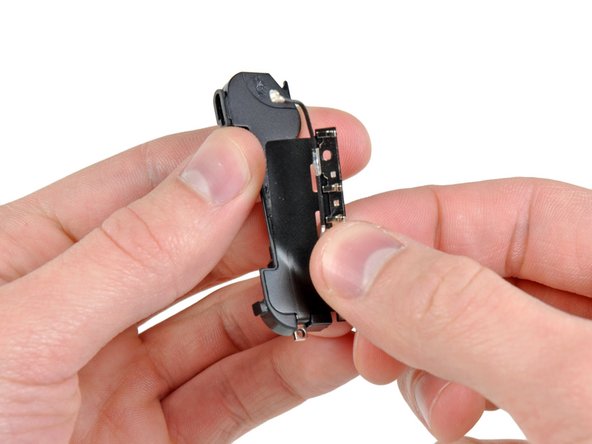
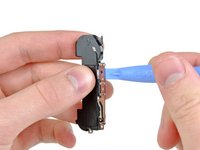
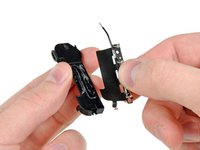
Starting near the cellular antenna cable, use the edge of a plastic opening tool to peel the antenna off the speaker enclosure.
-
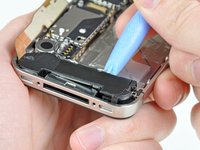
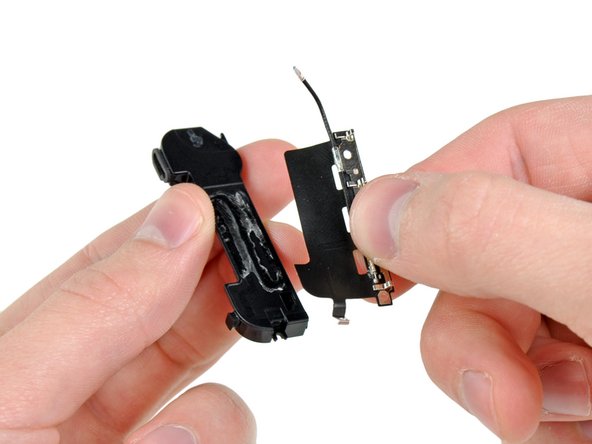
Continue peeling the cellular antenna off the speaker enclosure, being careful not to rip the gold bracket attached to one of its edges.
-
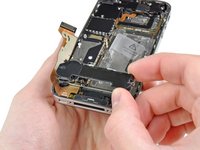
Remove the cellular antenna.
-


To reassemble your device, follow these instructions in reverse order.
Cancel: I did not complete this guide.
20 other people completed this guide.
