If your display glass is cracked, keep further breakage contained and prevent bodily harm during your repair by taping the glass.
Lay overlapping strips of clear packing tape over the iPad's display until the whole face is covered.
This will keep glass shards contained and provide structural integrity when prying and lifting the display.
Do your best to follow the rest of the guide as described. However, once the glass is broken, it will likely continue to crack as you work, and you may need to use a metal prying tool to scoop the glass out.
Wear safety glasses to protect your eyes, and be careful not to damage the LCD screen.
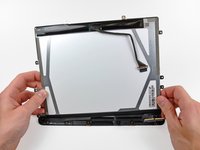
In this guide you will be prying the iPad's display assembly away from the aluminum body. Read ahead and follow the directions closely to avoid damaging the display assembly or the fragile clips holding it in place.
There are 14 metal clips holding the display assembly in place, shown at left. As you pry in the following steps, do your best to pry around these clips and not slice through them with your opening tool.
If you do happen to break some clips, you can buy replacements here.
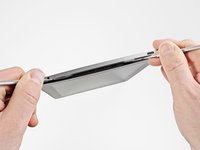
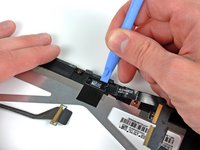
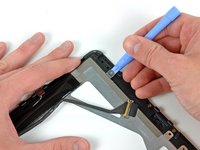
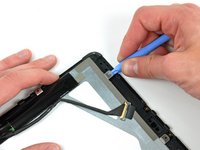
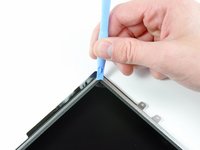
With one spudger, work your way along the right edge of the iPad.
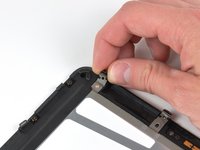
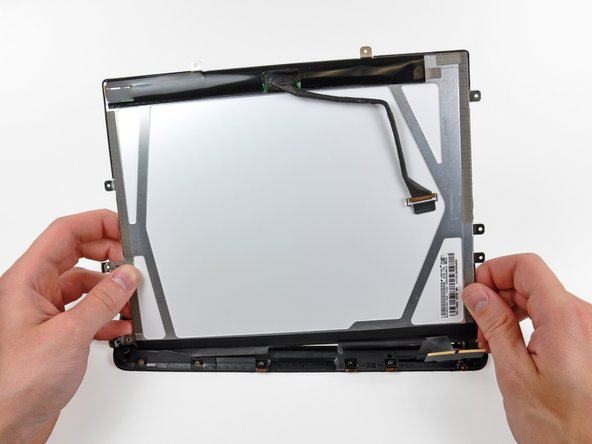
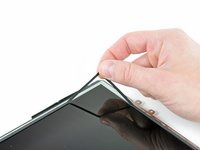
The front panel is held to the aluminum back by metal clips on the top, bottom, and left sides. The right side has plastic tabs which slide into recesses in the backplate.
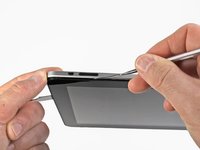
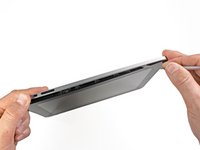
Once the clips are released, lift the left side of the front panel up and slide it to the left to clear the tabs from the aluminum backplate.
Pry carefully and gently—if you feel resistance, stop and pry at another spot.
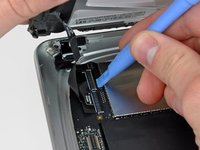
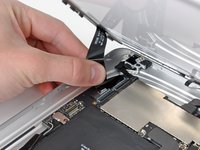
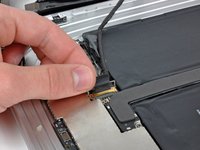
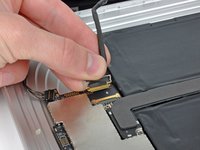
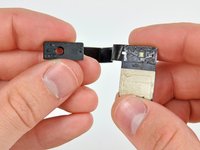
In the following steps, you will disconnect the three cables attaching the display assembly to the logic board. The cables are for the following components:
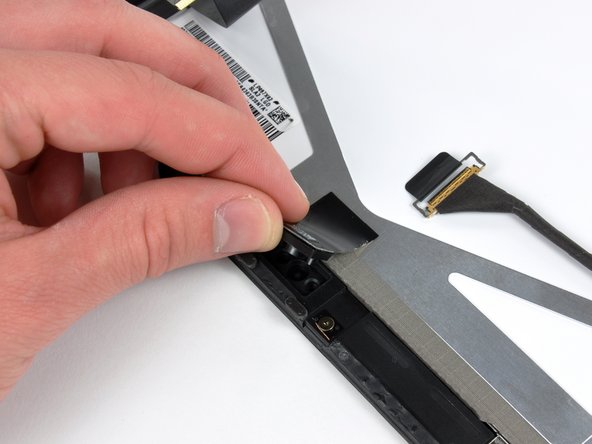
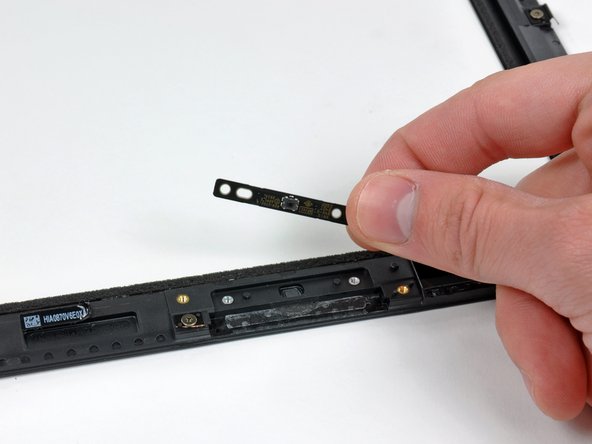
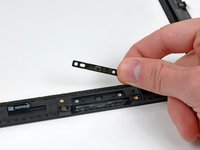
If it is still stuck to the front panel, remove the strip of EMI tape near the ambient light sensor socket.
If necessary, transfer this to your new LCD.
If it is attached to the LCD and you are reusing the LCD, skip this step. If you are replacing the LCD as well, transfer the strip of EMI tape to your new LCD.
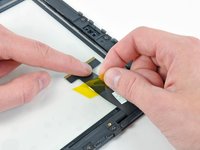
Remove the piece of yellow tape securing the digitizer cable to the inner face of the front panel assembly, being careful not to rip the cable in the process.
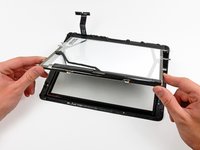
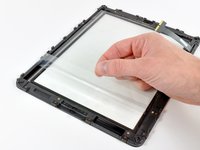
Peel the protective sheeting off the inner face of the front panel assembly.
Be careful not to get any fingerprints or dust on the inner face of the front panel, as they will be annoyingly visible when the device is turned on.
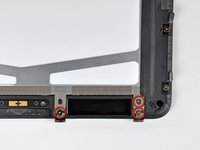
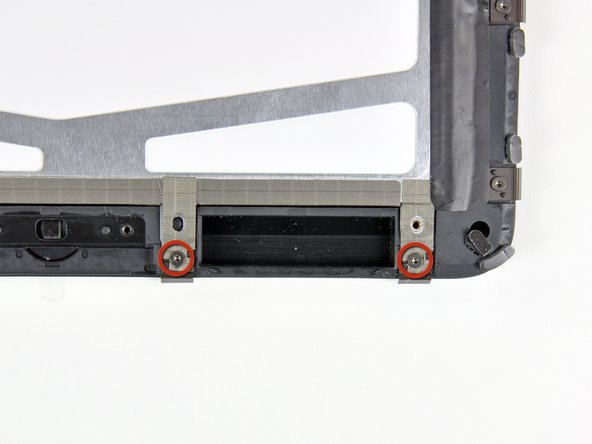
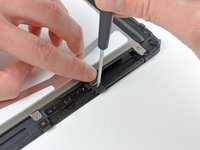
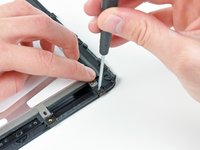
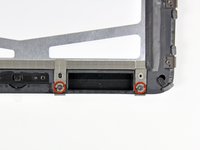
Hold back the strips of EMI tape along the lower edge of the LCD as you remove the two T5 Torx screws securing the retaining clips shown.
Stick the tape down against the new clips and reinstall the two T5 Torx screws.
If you are replacing your panel with a new one, be aware that the new panel may have a protective film on the outside and/or inside of the frame. This needs to be removed.