Introduction
Remove the GPU and its heatsink as one unit.
What you need
-
-
Loosen the two Phillips screws securing the access door to your iMac.
-
Remove the access door.
-
-
-
Remove the following screws along the lower edge of your iMac:
-
Three 6 mm T8 Torx screws
-
One 8 mm T8 Torx screw
-
-
-
To lift the front bezel off the iMac, simultaneously:
-
Use your thumbs to press in the RAM arms and hold the iMac down.
-
Use your index fingers to pull the small bridge of material on the front bezel toward yourself.
-
Pull the front bezel up with your index fingers.
-
Once the small bridge of material has cleared the RAM arms, lift the front bezel by its lower edge just enough to clear the bottom edge of the rear case.
-
-
-
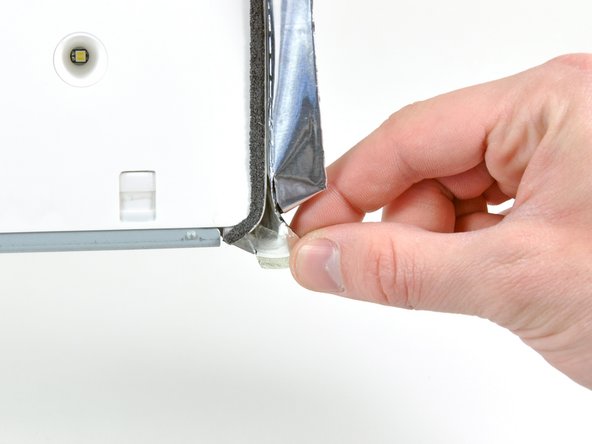
Peel back the piece of EMI tape connecting the bottom edge of the right speaker to the metal frame of the iMac.
-
Peel the tape away from the lower corner of the right speaker.
-
-
-
-
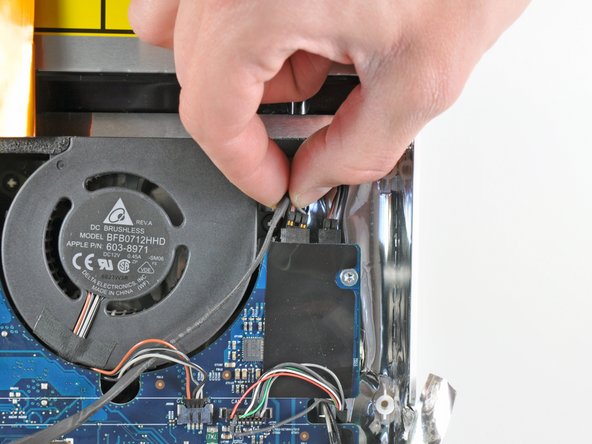
Use the flat end of a spudger to pry both antenna connectors off their sockets on the AirPort card.
-
-
-
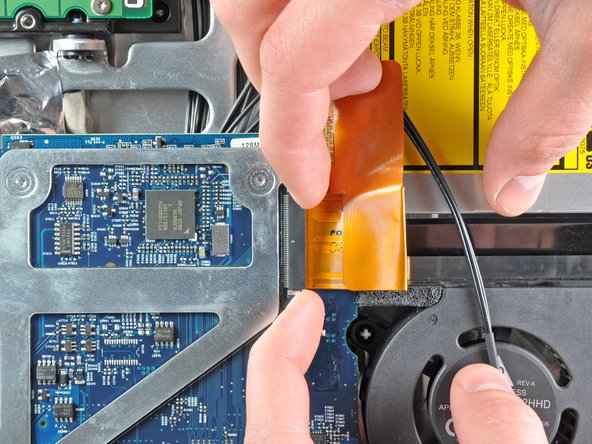
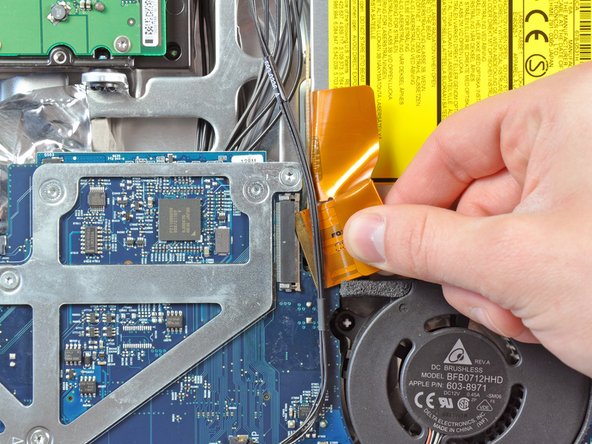
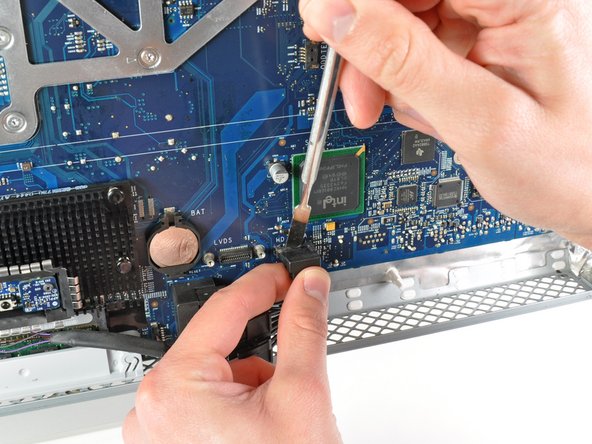
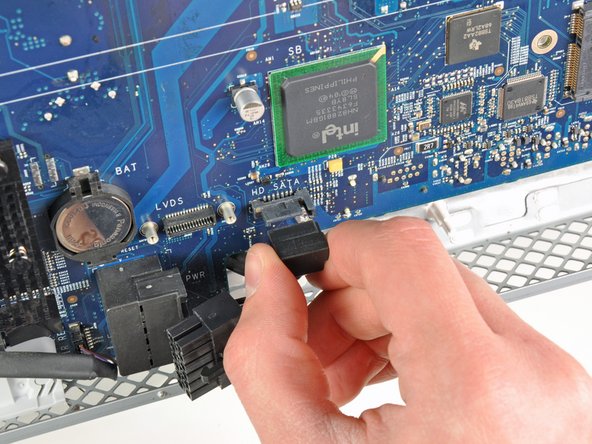
Remove the short T10 Torx screw securing the GPU heat sink to the metal logic board framework.
-


To reassemble your device, follow these instructions in reverse order.
To reassemble your device, follow these instructions in reverse order.
Cancel: I did not complete this guide.
26 other people completed this guide.

7 Comments
Competed the GPU replacement following this excellent guide. My iMac is as good as new, after weeks/months of randomly fragmented windows. Would not rate the repair as difficult, though, since no soldering/desoldering was required. Took between 4.5 and 5 hours (forgot to check the exact start time).
thx for yout reply. And i have a question.
I have done all these works. But i can't get the replacement of the GPU.
can i ask you where to get the replacement of the GPU?
it is very hard to find the GPU because it is pretty old model
hutch -
Having similar issues with fragmented windows and then freezing in some cases. Very certain it is the GPU - do I replace the paste or the board?
Fraser, I suggest checking a youtube video on how to reset the GPU's solder connections. Apparently, with the overheating the solder connections loosen causing the fragmented windows and then freezing. Normally one would replace the GPU assembly, but since these are extremely hard to find and costly, resetting the solder connections might be the only option to try.
At YouTube.com search for "Casual iMac Video Card Repair".
I've been meaning to try this repair for two years now . . . finally going to give it a try.
Ewald -