Introduction
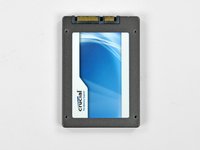
Use this guide to install a second 2.5" SATA hard drive or SSD in your 21.5" iMac. The kit will only work for Mid 2011 EMC 2428 models.
What you need
Video Overview
-
-
Unplug your iMac's AC cord along with any peripheral devices.
-
Lay your iMac face-down on a soft, clean surface as shown.
-
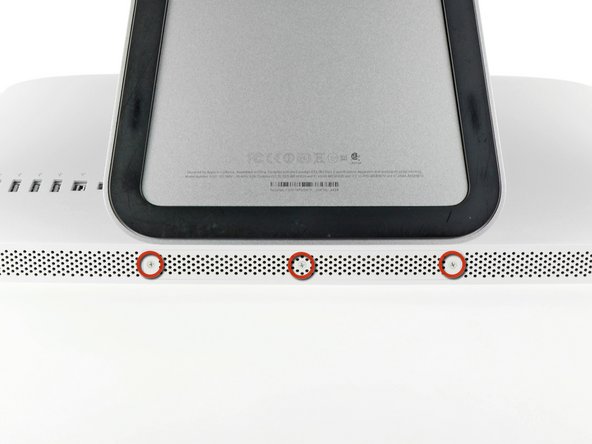
Loosen the three Phillips screws securing the access door to the bottom edge of your iMac.
-
Remove the access door.
-
-
-
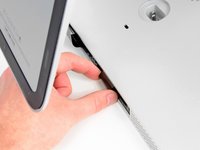
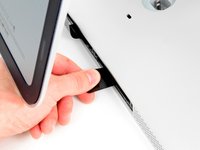
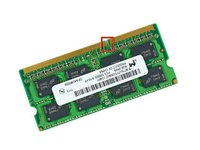
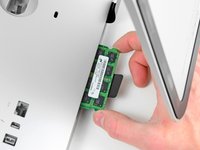
Gently slide the black plastic RAM pull tab out from the RAM slot.
-
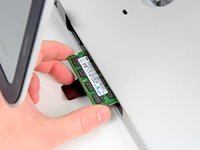
Pull the black plastic tab away from the bottom edge of the iMac to eject the module(s) on that side of the RAM bay.
-
-
Tool used on this step:Heavy-Duty Suction Cups (Pair)$14.95
-
Stick a suction cup near each of the two top corners of the glass panel.
-
If your suction cups refuse to stick, try cleaning both the glass panel and the suction cup with a mild solvent.
-
-
-
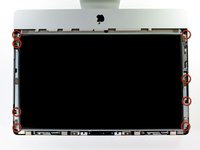
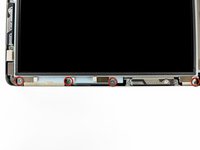
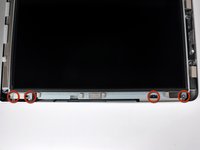
Remove the following four screws:
-
One 9.3 mm T10 Torx screw with a large head
-
Three 9.3 mm T10 Torx screws with a normal sized head
-
-
-
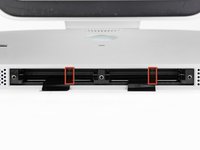
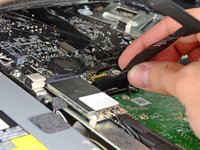
Lift the inner edge of the optical drive and maneuver its connector past the GPU frame attached to the logic board.
-
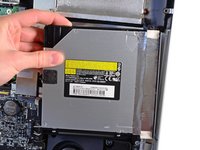
Carefully pull the optical drive off its mounting pins on the right side of the outer case to gain clearance for disconnecting the optical drive cable.
-
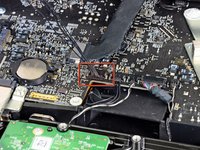
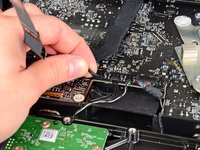
Allow the optical drive to hang down as you de-route the optical drive thermal sensor connector from behind the GPU heat sink.
-
-
-
-
Remove the single 13 mm T10 Torx screw securing the optical drive fan to the outer case.
-
-
-
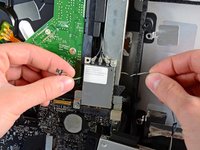
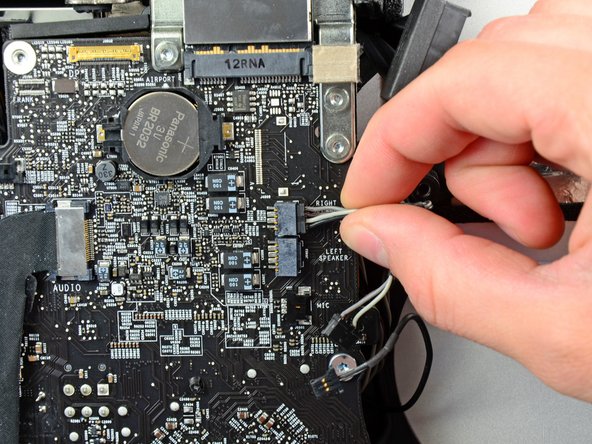
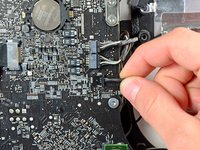
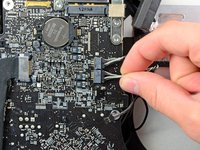
In the proceeding steps, you will disconnect the following cables:
-
SD Board
-
Left/Right Speaker and Microphone
-
Audio Port
-
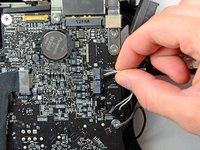
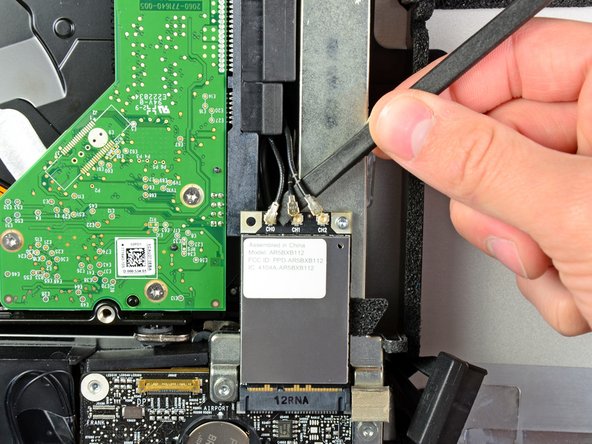
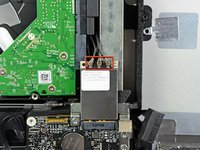
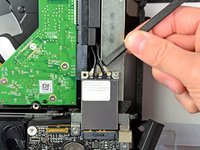
Wi-Fi Antenna
-
Right Temperature Sensor, Bluetooth/Ambient Light Sensor/Camera/Left Temperature, and Hard Drive Fan
-
CPU Fan/Ambient Temperature and Power Button
-
IR Sensor
-
-
-
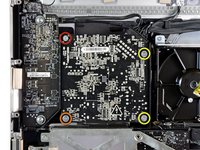
Remove the following four screws from the power supply:
-
One 9.3 mm T10 coarse-threaded screw
-
One 25 mm T10 coarse-threaded screw
-
Two 22 mm fine-threaded screws
-
Pull the upper right and lower left corners of the power supply away from the rear case to dislodge the mounting posts attached to the power supply's corners.
-
-
-
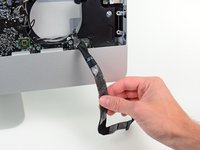
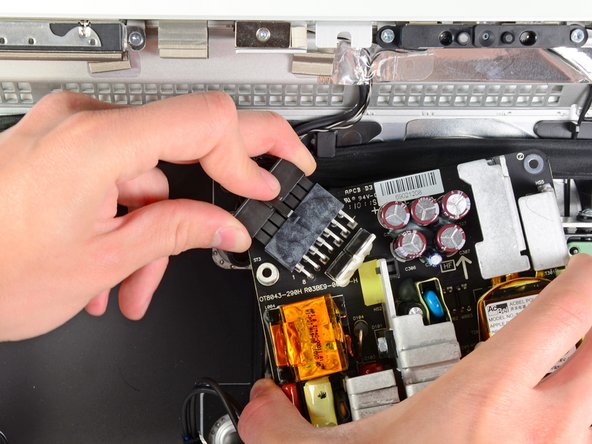
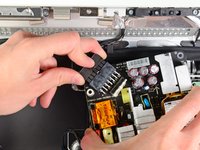
Carefully lift the power supply out of the outer case and rotate it to expose the cable lock as shown, minding the DC-out and AC-in cables still attaching it to the iMac.
-
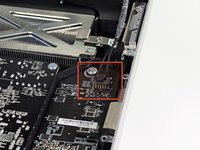
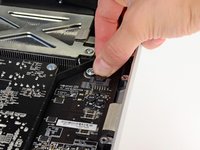
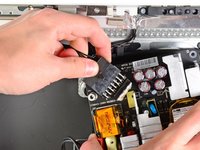
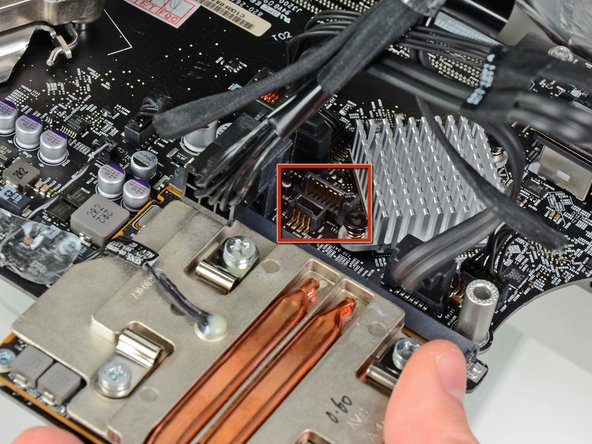
Disconnect the DC-out cable by depressing the locking mechanism on the connector while you pull the connector away from its socket on the power supply.
-
Once the locking mechanism has cleared the socket, pull the DC-in connector away from the power supply.
-
-
-
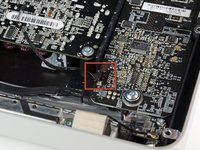
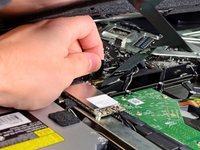
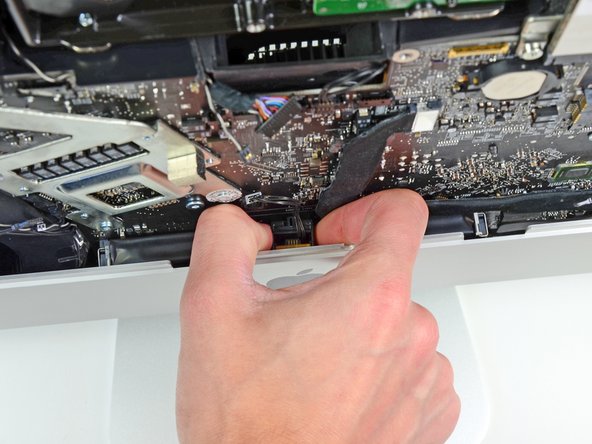
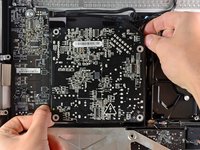
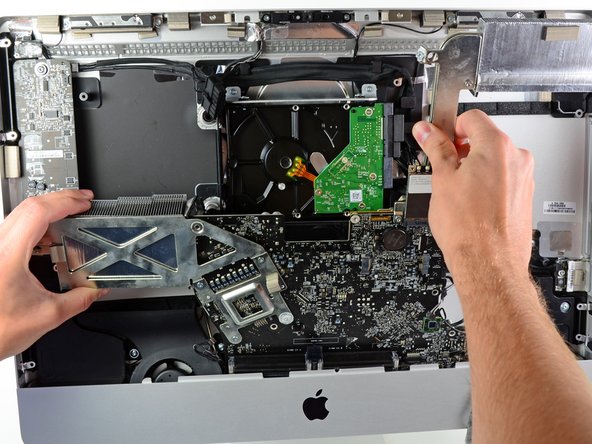
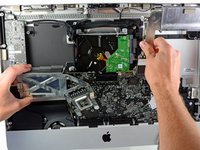
In the following steps, you will hold the logic board slightly away from the outer case as you connect the new hard drive cables included with the dual hard drive kit.
-
-
-
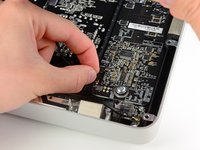
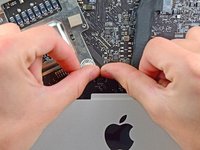
Next, while holding the new hard drive cables against the GPU heat sink, lower the bottom edge of the logic board back down into the outer case.
-
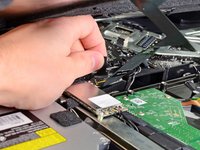
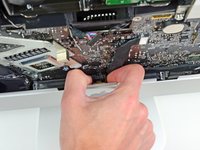
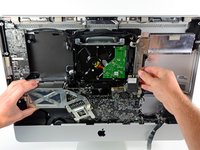
Before pushing the logic board against the back of the outer case, first route the hard drive cables in the channel near the bundle of power cables.
-
As you place the logic board into its recess, route the hard drive cables through the small channel cut into the plastic pressure wall near the fins of the GPU heat sink.
-
-
-
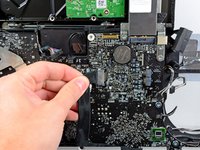
In the next few steps, you'll install your new drive into the case of your EMC 2428 iMac.
-
-
-
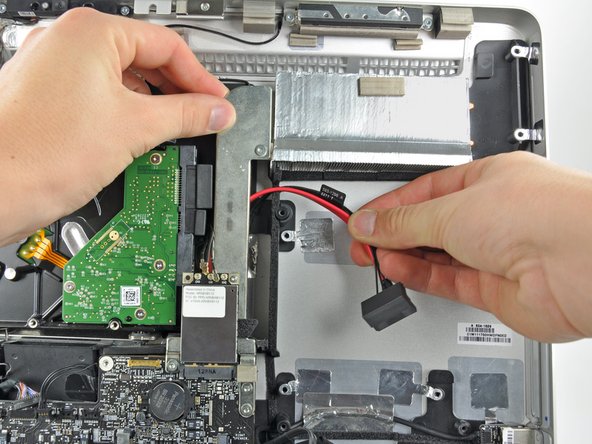
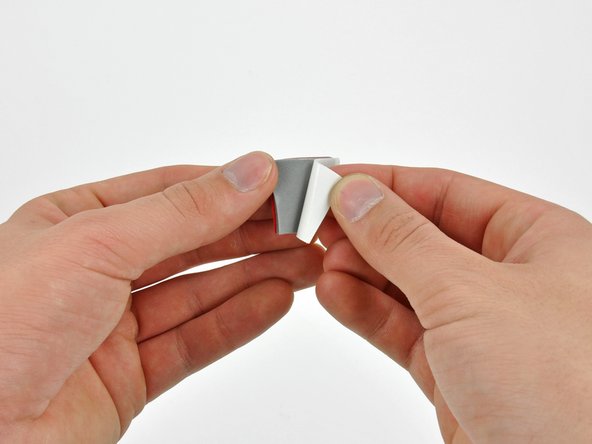
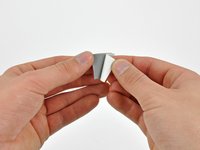
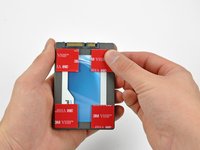
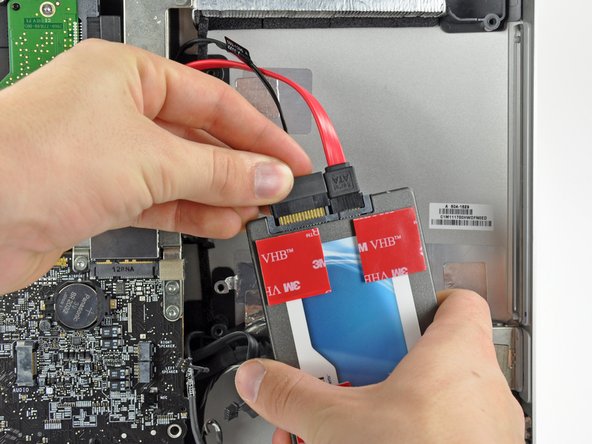
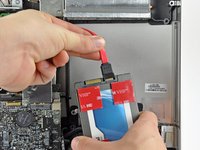
Remove the backing from the double-sided tape and place the hard drive inside the iMac.
-
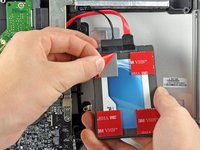
Carefully set the drive into the iMac optical bay as close to the lower left corner as possible.
-
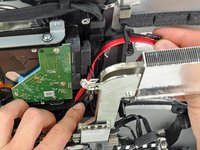
Once you are happy with the hard drive's placement, firmly press down along its edges to ensure full adhesion.
-


To reassemble your device, follow these instructions in reverse order from Step 33.
Cancel: I did not complete this guide.
274 other people completed this guide.

73 Guide Comments
It should be noted to anyone doing this that RAM should be removed first. When you get towards the end things go bad if your RAM is still in there and you start moving the mainboard around.
You are correct. I followed the ifixit guide on youtube and it was not mentioned to remove the RAMs. But in fact the RAMs should be removed in order to pull the logic board.
Seconded ... remove ram first! Spent more time reinstalling main board than anything else.
Added bigger HDD as well as SSD. Buy HDD Fan Control to fix fan speed.
A curse on Jobs & Apple for making it this tedious to add SSD & HDD.
Cudos to ifixit!
Did it, my imac is extreamly speedy now with the ssd compared with the origional hdd.
Tool me about two hours to do, had to have my brother help me when i was removing the logic board and screen.
Found that the logic board was extreamly hard to remove.
Good tip is to selotape the cables before removing / inserting the logic board as i traped my microphone connector underneath. Luckely i could reach it with a pair of tweesers.
Over all glad i did it.