Introduction
The derailleur is your bike’s gear shifting device. When you adjust the shifter on your handlebars, the derailleur pushes your bike chain to the next gear over, and then adjusts the length of the chain to accommodate the change in gear size.
There are many ways to adjust a derailleur. For small adjustments, there is no need to remove the chain or the derailleur. This guide demonstrates one way to adjust the derailleur to the proper position after removing the derailleur and chain for maintenance.
In steps 2 and 3, we adjust the high and low end adjustment stops, which set the maximum inward and outward distance that the derailleur can move the bike chain. Setting these boundaries prevents the derailleur from shifting the chain off of the sprockets and onto the axle.
By putting the shifter in the highest gear in step 4, the cable is let out as far as possible when we clamp down on it. This ensures that all slack is removed from the line.
What you need
-
-
Slide the chain cutting tool onto the desired link.
-
Align the push pin of the tool with the pin on the chain, and tighten the tool until the pin protrudes out the other side without falling all the way out.
-
-
-
-
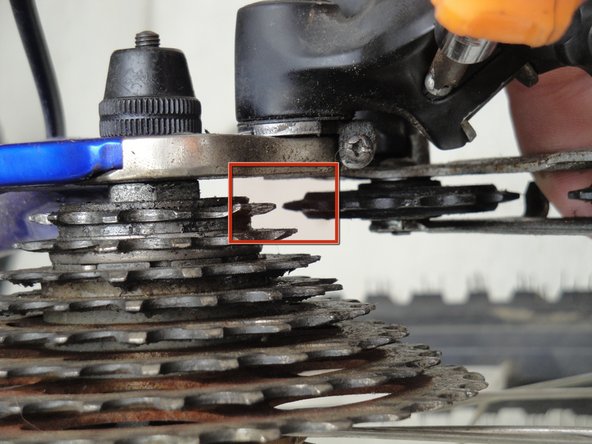
Fine tune the derailleur by tightening or loosening the barrel adjuster screw. Loosening this screw causes the derailleur to move slightly towards a larger sprocket, while tightening it moves the derailler towards a smaller sprocket.
-
Shift through each gear while pedaling. The derailleur should move the chain one gear over each time you shift up or down.
-
If the chain skips or makes noise when you are not shifting, use the barrel adjustment screw to fine tune the derailleur alignment.
-
Repeat the previous steps until the derailleur shifts smoothly and makes a minimal amount of noise.
-


For future adjustments it is likely that you will only need to adjust the barrel adjuster screw for fine adjustment.
For future adjustments it is likely that you will only need to adjust the barrel adjuster screw for fine adjustment.
Cancel: I did not complete this guide.
8 other people completed this guide.
Team

Cal Poly, Team 5-13, Maness Fall 2010 Member of Cal Poly, Team 5-13, Maness Fall 2010
CPSU-MANESS-F10S5G13
4 Members
17 Guides authored