Introduction
Use this guide to replace a burned-out LCD and/or backlight.
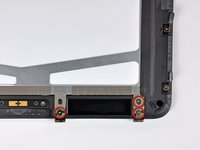
What you need
-
-
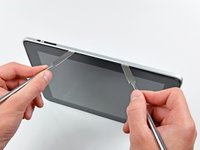
If your display glass is cracked, keep further breakage contained and prevent bodily harm during your repair by taping the glass.
-
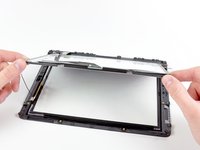
Lay overlapping strips of clear packing tape over the iPad's display until the whole face is covered.
-
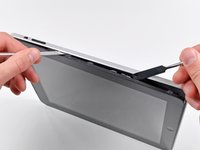
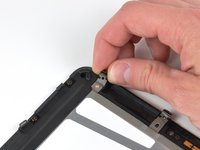
Do your best to follow the rest of the guide as described. However, once the glass is broken, it will likely continue to crack as you work, and you may need to use a metal prying tool to scoop the glass out.
-
-


To reassemble your device, follow these instructions in reverse order.
Cancel: I did not complete this guide.
42 other people completed this guide.

4 Guide Comments
Did this and everything worked great, but I forgot to re-attach the 3G antenna so I went back in to do that, closed it back up again and now my wifi isn't working. Any thoughts on what I likely messed up?
The first repair didn't require a software/firmware restore, but the second one did. I've restored twice now and reset network settings... all the suggestions Apple makes for troubleshooting a software issue, so I do think I messed something up inside.
Be very careful on step 14 as the piece of tape holding down the digitizer cable will TEAR your cable if not properly peeled. Ask me how I know.
to ifixit.com:
I'm very disappointed in the lack of caution advised during this step. Almost as if you wanted us to mess this up for the purpose of purchasing a digitizer from you. Shame.
A short remark about how much force will then be needed to separate the old battery from the heated adhesive would be helpful. I found that even after I was able to begin the insertion of a plastic card between the battery and the case, it required a great deal of force to push the card further under the battery to complete the separation. Refer: soundcloud converter
Thanks for this helpful steps, its clear and easy, Refer: children toys one and half olds