Introduction
Get back your R button functionality with a new right shoulder button.
What you need
-
Tool used on this step:Phillips #00 Screwdriver$5.49
-
Use a Phillips PH00 screwdriver to loosen the four screws along the top of the back cover.
-
-
-
Grab the top edge of the back cover with your opposite hand so that the cover does not fall back into place.
-
Pull the back cover up and away from the rest of the device to remove it.
-
-
-
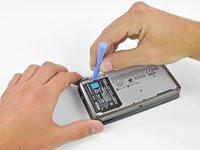
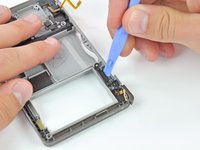
Insert a plastic opening tool into the notch in the lower case above the battery.
-
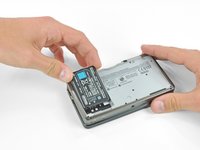
Pry the battery up with the plastic opening tool.
-
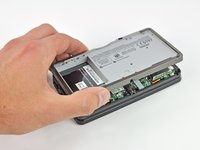
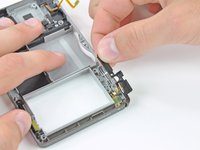
Grab the top edge of the battery and lift it out of the lower case.
-
-
-
-
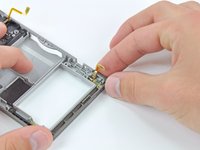
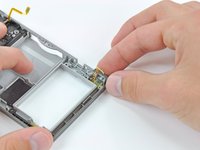
Use a JIS #00 screwdriver to remove the nine 6.3 mm black screws from the lower case.
-
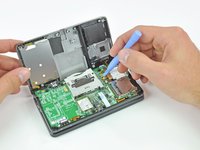
Use a JIS #00 screwdriver to remove the 2.4 mm silver screw above the game cartridge slot.
-
-
-
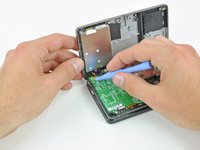
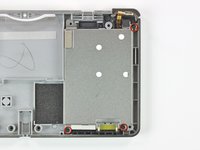
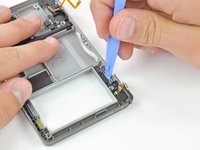
Remove the three 3.6 mm Phillips screws securing the metal battery shield to the lower case.
-
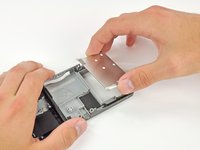
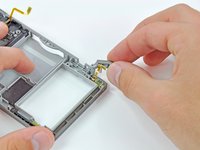
Lift the battery shield up and out of the lower case.
-


To reassemble your device, follow these instructions in reverse order.
Cancel: I did not complete this guide.
81 other people completed this guide.

20 Guide Comments
The ribbon came off the socket, now it is stuck and we cannot pull it out. How do you remove the socket without the ribbon. We attempted tweezers, but it did not budge. May have scratched things up a bit too. Help!! Thank you! We just want to pull it out and get another replacement right shoulder ribbon.
Did you ever figure out how to get it out? I have the same problem. I changed the ribbon with a 3rd party part and the bad solder job broke and the part is still left in the socket. My only option is to use crazy glue and a pin or something small to glue to it and then pull it out…but I don’t have any krazy glue!
Chris -
It was great! Phenomenal! I loved it! But... What happens if I accidentally snapped the L button's ribbon cable..? Can I just replace it..? Somehow..?