Introduction
This guide provides comprehensive step-by-step instructions to remove the IBM ThinkPad's back panel display assembly, front screen bezel, all assembly screws, and finally the LCD screen and successfully replace the screen in the event of damage.
What you need
-
-
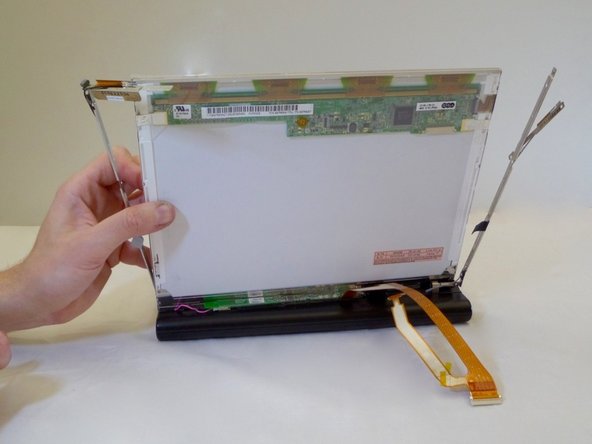
Open the laptop and turn to the side.
-
Using the spudger, remove the 6 black rectangular-shaped screw coverings (3 on each side)
-
-


To reassemble your device, follow these instructions in reverse order.
To reassemble your device, follow these instructions in reverse order.
Cancel: I did not complete this guide.
One other person completed this guide.
Team

CSU Fullerton, Team 2-4, Bruce Fall 2016 Member of CSU Fullerton, Team 2-4, Bruce Fall 2016
CSUF-BRUCE-F16S2G4
4 Members
8 Guides authored