Introduction
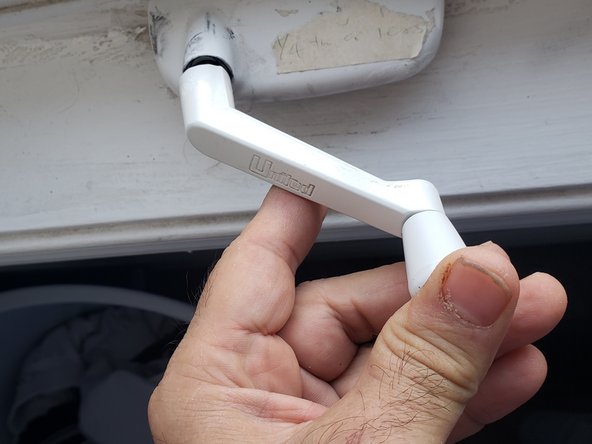
Have you ever felt that your room was too hot? But, when you go to open your window to get a blast of nice refreshing air, you realize that your window won’t open. Fear not, this guide will demonstrate how to replace a window arm for a casement window. From unlocking the window to removing the defective window arm to installing a new one, it has the entire step-by-step process covered.
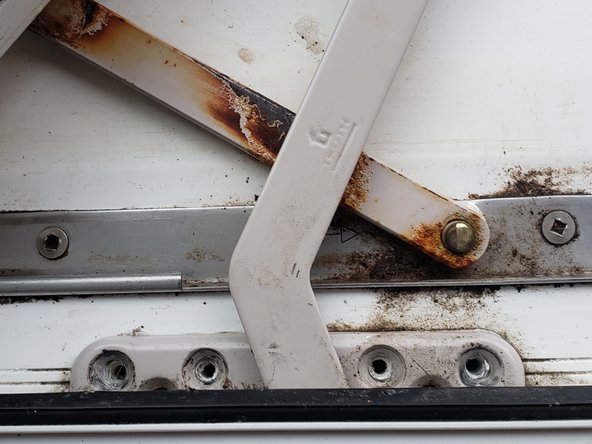
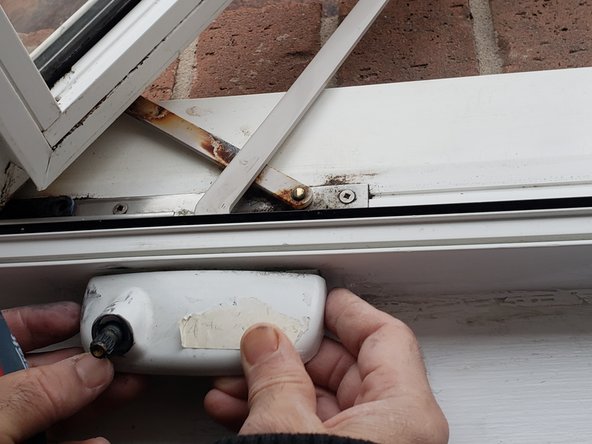
A common issue with out-swinging windows is that the window arm ends up becoming detached from its track due to overuse or overextension. By following this guide, the reader will be able to resolve this problem permanently, and receive fresh air in no time at all.
What you need
-
-
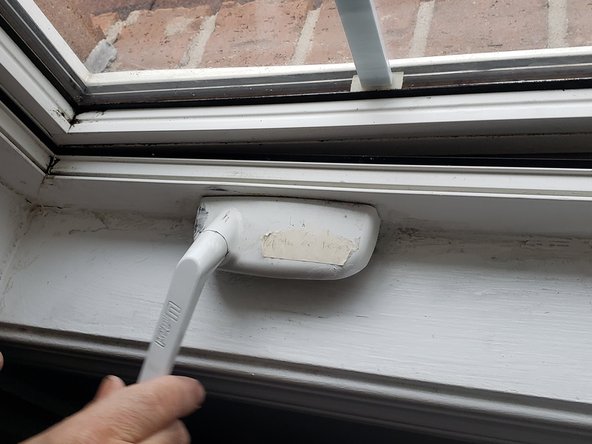
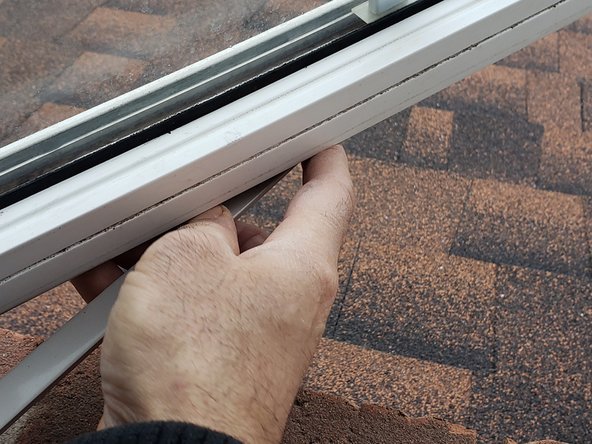
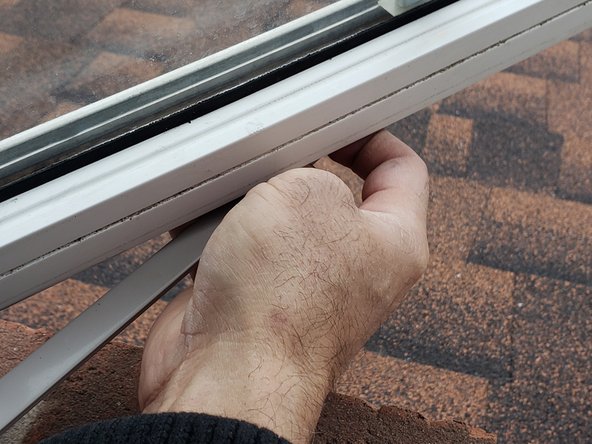
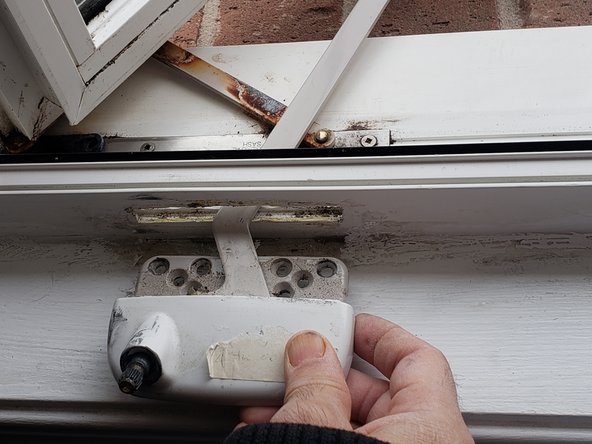
Unlock the window lock by flipping both switches up until they are pointed horizontally outwards, facing the user.
-
-


To reassemble your device, follow these instructions in reverse order.
To reassemble your device, follow these instructions in reverse order.
Team

York University, Team S1-G21, O'Regan Winter 2021 Member of York University, Team S1-G21, O'Regan Winter 2021
YORK-O'REGAN-W21S1G21
1 Member
1 Guide authored