Introduction
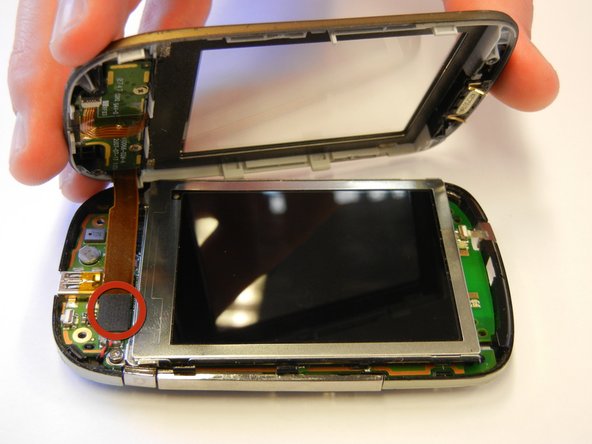
Warning: Always be sure you are grounded whenever handling any of the circuit or logic boards.
What you need


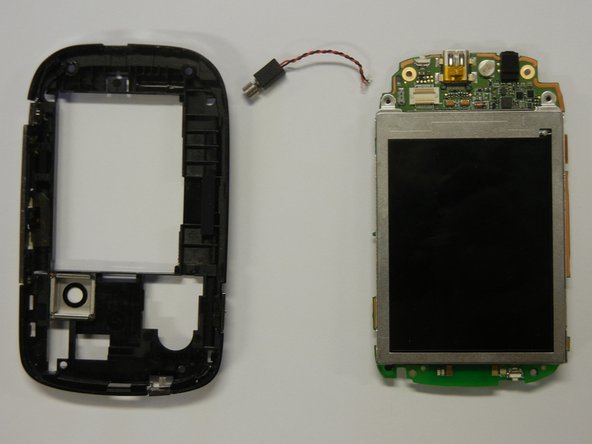


Almost done!
To reassemble your device, follow these instructions in reverse order.
Conclusion
To reassemble your device, follow these instructions in reverse order.
Team

Cal Poly, Team 15-12, Regan Spring 2011 Member of Cal Poly, Team 15-12, Regan Spring 2011
CPSU-REGAN-S11S15G12
4 Members
10 Guides authored