HP Officejet J4550 All-in-one Button Replacement

What you need

  1. HP Officejet J4550 All-in-one Button Replacement, Button: step 1, image 1 of 2 HP Officejet J4550 All-in-one Button Replacement, Button: step 1, image 2 of 2
    • Insert 2 fingers in the dent on the right side of the printer and pull towards the front of the printer.

    • Using fingers to open the cover of the scanner which located on the top of the printer.

  2. HP Officejet J4550 All-in-one Button Replacement: step 2, image 1 of 3 HP Officejet J4550 All-in-one Button Replacement: step 2, image 2 of 3 HP Officejet J4550 All-in-one Button Replacement: step 2, image 3 of 3
    • Remove four 10mm screws on the panel with T8 torx security screwdriver.

    • Remove the cover of the top part.

  3. HP Officejet J4550 All-in-one Button Replacement: step 3, image 1 of 3 HP Officejet J4550 All-in-one Button Replacement: step 3, image 2 of 3 HP Officejet J4550 All-in-one Button Replacement: step 3, image 3 of 3
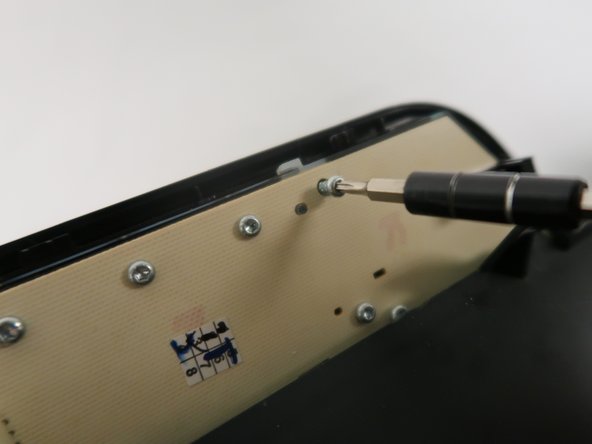
    • Remove eight 10mm screws on the back of the controlling keyboard with T8 torx security screwdriver.

    • Remove the back board of the controlling keyboard.

  4. HP Officejet J4550 All-in-one Button Replacement: step 4, image 1 of 3 HP Officejet J4550 All-in-one Button Replacement: step 4, image 2 of 3 HP Officejet J4550 All-in-one Button Replacement: step 4, image 3 of 3
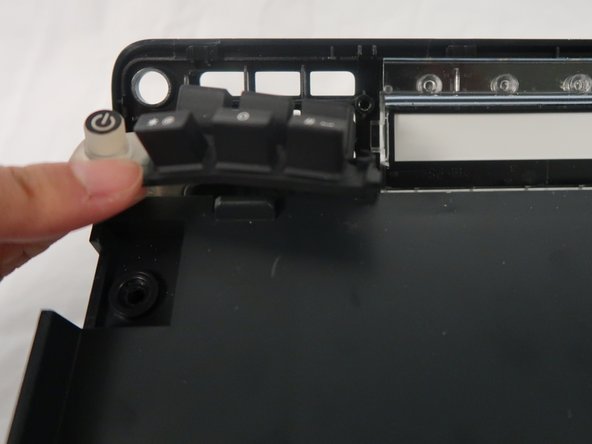
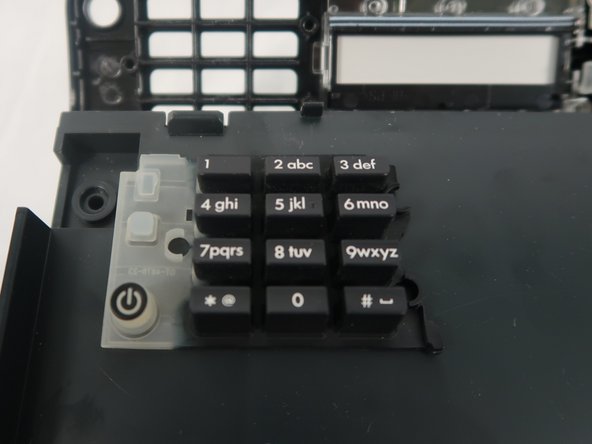
    • Remove the button that is located at the left of the controlling keyboard.

Conclusion

To reassemble your device, follow these instructions in reverse order.

One other person completed this guide.

Jiayin Zhu

Member since: 10/21/18

373 Reputation

3 Guides authored

Team

UC Davis, Team S11-G8, Lore Fall 2018 Member of UC Davis, Team S11-G8, Lore Fall 2018

UCD-LORE-F18S11G8

3 Members

8 Guides authored

0 Comments

Add Comment

View Statistics:

Past 24 Hours: 0

Past 7 Days: 1

Past 30 Days: 8

All Time: 225