
HP 7 PLUS 1301 Front and Back Camera Replacement

What you need

  1. HP 7 PLUS 1301 Front and Back Camera Replacement, Front and Back Camera: step 1, image 1 of 2 HP 7 PLUS 1301 Front and Back Camera Replacement, Front and Back Camera: step 1, image 2 of 2
    • Make sure the device is off and not plugged in before starting.

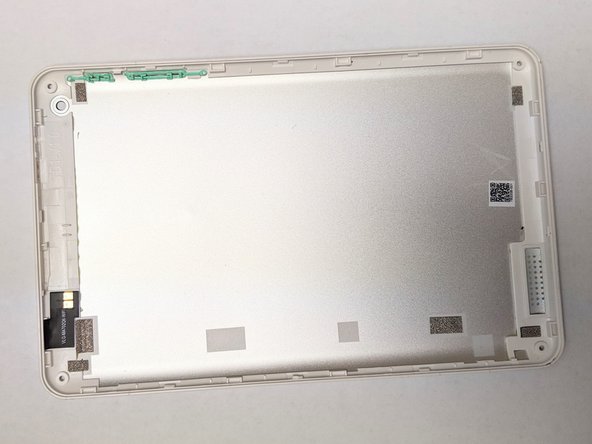
    • Using a Torx T5 screwdriver, remove the 3mm screws on all four corners of the device.

  2. HP 7 PLUS 1301 Front and Back Camera Replacement: step 2, image 1 of 2 HP 7 PLUS 1301 Front and Back Camera Replacement: step 2, image 2 of 2
    • Using the plastic opening tool, push in between the front, then slide it around.

    • Slide the plastic opening tool all the way around the tablet to separate the back cover.

    • Be careful when trying to remove the back as the screen can be damaged with excessive force.

  3. HP 7 PLUS 1301 Front and Back Camera Replacement: step 3, image 1 of 2 HP 7 PLUS 1301 Front and Back Camera Replacement: step 3, image 2 of 2
    • Continue sliding the plastic opening tool around the tablet until the cover fully separates from the device.

    • Remove the back cover.

  4. HP 7 PLUS 1301 Front and Back Camera Replacement: step 4, image 1 of 1
    • Locate the front and rear cameras.

  5. HP 7 PLUS 1301 Front and Back Camera Replacement: step 5, image 1 of 2 HP 7 PLUS 1301 Front and Back Camera Replacement: step 5, image 2 of 2
    • Using the opening tool, locate the rectangular gray connector near the camera and gently release its connection.

    • Lift the connector out and away from the board.

    • This will come out very easily so don't use much force.

  6. HP 7 PLUS 1301 Front and Back Camera Replacement: step 6, image 1 of 2 HP 7 PLUS 1301 Front and Back Camera Replacement: step 6, image 2 of 2
    Tool used on this step:
    Tweezers
    $4.99
    Buy
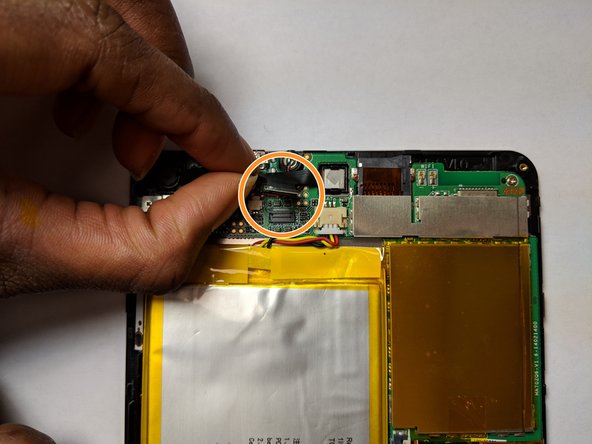
    • Gently push the tabs on both sides until the front camera is loose.

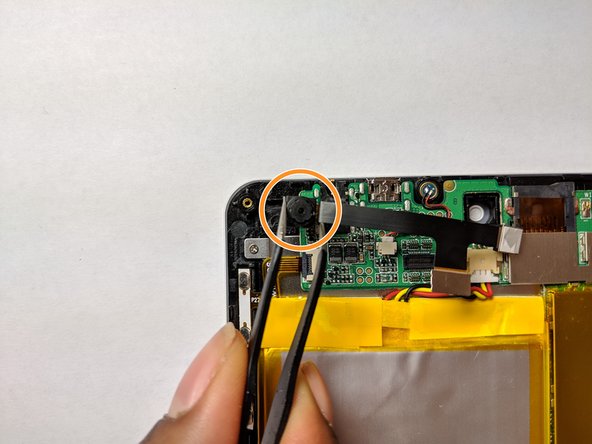
    • Using your blunt tweezers, lift the front camera gently away from the board.

  7. HP 7 PLUS 1301 Front and Back Camera Replacement: step 7, image 1 of 3 HP 7 PLUS 1301 Front and Back Camera Replacement: step 7, image 2 of 3 HP 7 PLUS 1301 Front and Back Camera Replacement: step 7, image 3 of 3
    • Using your angled tweezers, gently pry out the back camera.

    • The camera is held down with tape.

    • Lift the back camera out of its socket and gently pull out both cameras.

Conclusion

To reassemble your device, follow these instructions in reverse order.

One other person completed this guide.

ahmed musleh

Member since: 02/05/19

195 Reputation

1 Guide authored

Team

UC Davis, Team S20-G6, Lore Winter 2019 Member of UC Davis, Team S20-G6, Lore Winter 2019

UCD-LORE-W19S20G6

3 Members

4 Guides authored

0 Comments

Add Comment

View Statistics:

Past 24 Hours: 0

Past 7 Days: 3

Past 30 Days: 8

All Time: 150