Introduction
Use this guide to replace the lense in the Fujifilm Finepix S4200. This guide requires the use of a Phillips 000 screwdriver and soldering iron. Previous soldering experience is recommended.
What you need


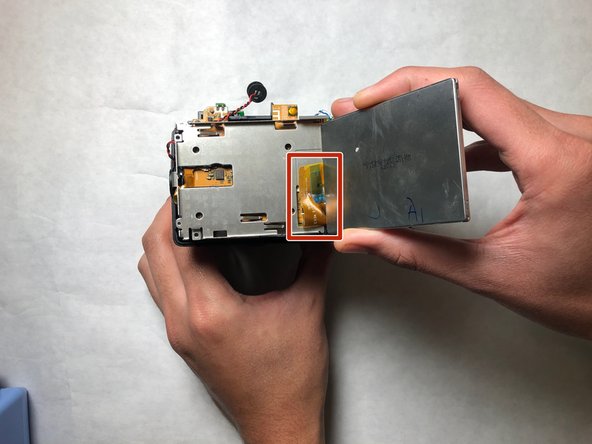


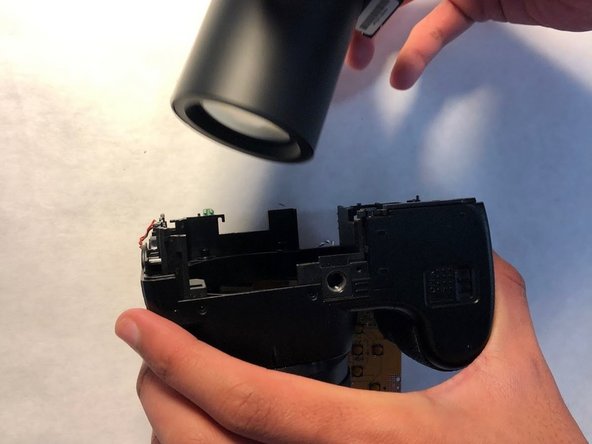

Almost done!
To reassemble your device, follow these instructions in reverse order.
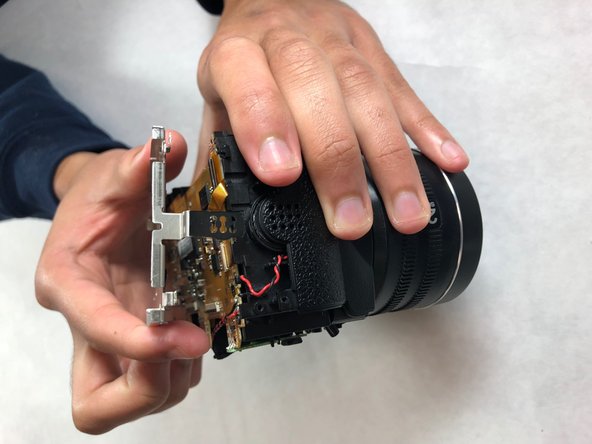
Conclusion
To reassemble your device, follow these instructions in reverse order.
Team

IUPUI, Team S1-G5, Harley Fall 2018 Member of IUPUI, Team S1-G5, Harley Fall 2018
IUPUI-HARLEY-F18S1G5
3 Members
4 Guides authored