
CyberPower UPS Battery Replacement

What you need

  1. CyberPower UPS Battery Replacement, Battery: step 1, image 1 of 2 CyberPower UPS Battery Replacement, Battery: step 1, image 2 of 2
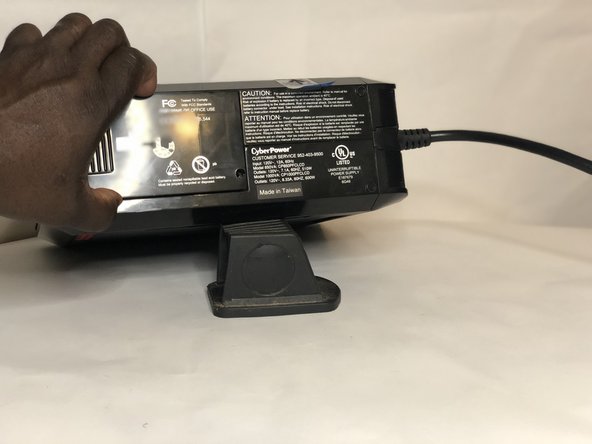
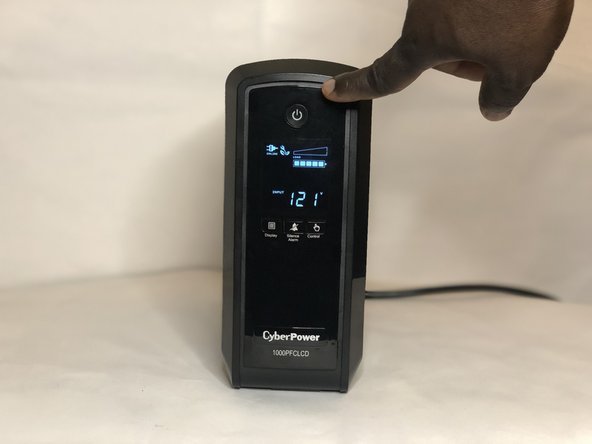
    • Power down the unit by pressing the power button until the display goes black.

    • This is usually about 3 seconds.

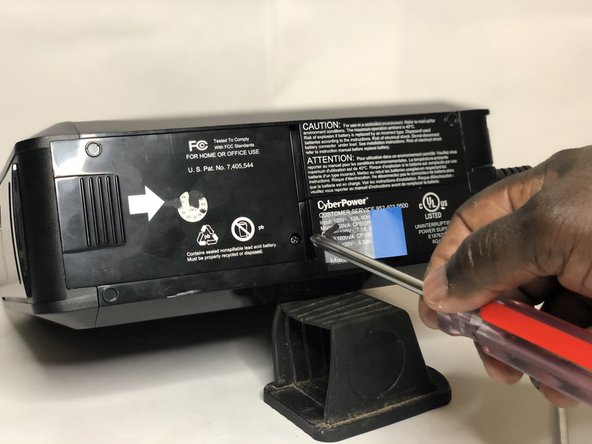
    • Unplug the power cord from the wall outlet.

  2. CyberPower UPS Battery Replacement: step 2, image 1 of 3 CyberPower UPS Battery Replacement: step 2, image 2 of 3 CyberPower UPS Battery Replacement: step 2, image 3 of 3
    • Remove the battery plate cover at the bottom of the UPS using a Phillips #1 screwdriver.

    • If the screwdriver is not magnetized, tap on the cover plate to completely remove the screw.

  3. CyberPower UPS Battery Replacement: step 3, image 1 of 2 CyberPower UPS Battery Replacement: step 3, image 2 of 2
    • Slide the battery cover plate to the left.

    • Grasp the battery plate cover and lift it off the the UPS.

  4. CyberPower UPS Battery Replacement: step 4, image 1 of 3 CyberPower UPS Battery Replacement: step 4, image 2 of 3 CyberPower UPS Battery Replacement: step 4, image 3 of 3
    • Pull out the battery to expose the terminal connectors.

    • Use needlenose pliers to disconnect both battery terminal connectors.

    • Do not pull the connectors by the wires, pull connectors by grabbing the connector itself.

    • With the battery terminal connectors disconnected, slide the battery all the way out.

  5. CyberPower UPS Battery Replacement: step 5, image 1 of 3 CyberPower UPS Battery Replacement: step 5, image 2 of 3 CyberPower UPS Battery Replacement: step 5, image 3 of 3
    • The replacement battery should be a 12 volt, 9 amp-hour, sealed lead acid battery with f2 type connectors.

    • Install the new battery and reconnect the terminals.

  6. CyberPower UPS Battery Replacement: step 6, image 1 of 3 CyberPower UPS Battery Replacement: step 6, image 2 of 3 CyberPower UPS Battery Replacement: step 6, image 3 of 3
    • Slide the battery cover plate to the left.

    • Insert the screw to secure the battery cover plate.

    • Tighten the screw with a Phillips #1 screwdriver.

  7. CyberPower UPS Battery Replacement: step 7, image 1 of 3 CyberPower UPS Battery Replacement: step 7, image 2 of 3 CyberPower UPS Battery Replacement: step 7, image 3 of 3
    • Plug system into the wall outlet.

    • Press the power button to turn on the unit.

Conclusion

To reassemble your device, follow these instructions in reverse order.

One other person completed this guide.

0 Comments

Add Comment

View Statistics:

Past 24 Hours: 9

Past 7 Days: 70

Past 30 Days: 313

All Time: 12,677