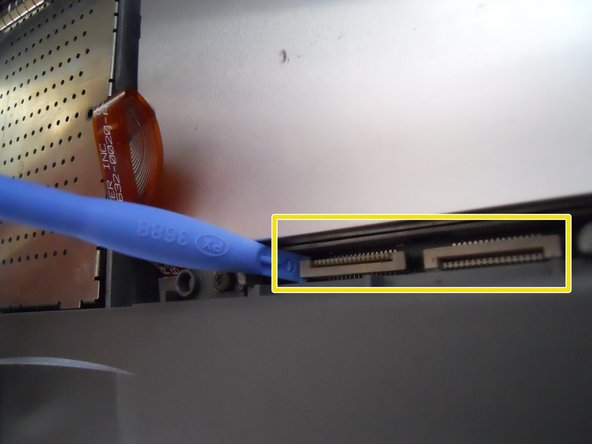
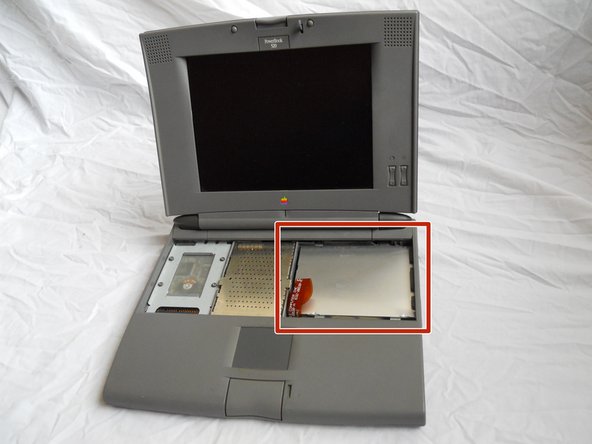
Apple Powerbook 520/540 General Disassembly

What you need

  1. Apple Powerbook 520/540 General Disassembly, Case: step 1, image 1 of 2 Apple Powerbook 520/540 General Disassembly, Case: step 1, image 2 of 2
    • Turn computer over.

    • Remove battery expansion cover and battery.

  2. Apple Powerbook 520/540 General Disassembly: step 2, image 1 of 1
    • With monitor hinge at the bottom, remove the two top center screws.

  3. Apple Powerbook 520/540 General Disassembly: step 3, image 1 of 1
    • Remove top left and top right screws.

  4. Apple Powerbook 520/540 General Disassembly: step 4, image 1 of 1
    • Remove middle left and middle right screws.

  5. Apple Powerbook 520/540 General Disassembly: step 5, image 1 of 1
    • Open computer kickstands.

    • Remove screws underneath each kickstand.

  6. Apple Powerbook 520/540 General Disassembly: step 6, image 1 of 1
    • Lift keyboard from bottom and take out of shell.

  7. Apple Powerbook 520/540 General Disassembly: step 7, image 1 of 3 Apple Powerbook 520/540 General Disassembly: step 7, image 2 of 3 Apple Powerbook 520/540 General Disassembly: step 7, image 3 of 3
    • Lift the white ribbon clamps securing the keyboard ribbon cables to the motherboard. You can do this using a plastic opening tool.

    • Removing both ribbon cables from the motherboard will leave the clamps like so.

    • From here you can access the logic board, hard drive, and floppy drive.

Conclusion

To reassemble your device, follow these instructions in reverse order.

9 other people completed this guide.

Mark McNeff

Member since: 04/20/11

497 Reputation

2 Guides authored

2 Comments

http://tim.id.au/laptops/apple/powerbook... (PDF)

Apple Service Source: PowerBook 500 Series

Guides for everything.

tas - Reply

Thanks been trying to fix this for a long time

Luke - Reply

Add Comment

View Statistics:

Past 24 Hours: 2

Past 7 Days: 12

Past 30 Days: 48

All Time: 6,684