
Amazon Echo Look Midframe Replacement

What you need

  1. Amazon Echo Look Midframe Replacement, Front Panel: step 1, image 1 of 1
    • Ensure the device is completely powered off and disconnected from any power source by removing the charger adapter point from the back of the device.

  2. Amazon Echo Look Midframe Replacement: step 2, image 1 of 3 Amazon Echo Look Midframe Replacement: step 2, image 2 of 3 Amazon Echo Look Midframe Replacement: step 2, image 3 of 3
    • If the device stand is attached, remove it by twisting the device's base toward yourself until detached.

  3. Amazon Echo Look Midframe Replacement: step 3, image 1 of 1
    • Heat the front panel with an iOpener.

    • It may help to secure the iOpener to the device.

    • Heat the device for 5-10 minutes to loosen the glue.

    • CAUTION: The iOpener and the device may be hot.

  4. Amazon Echo Look Midframe Replacement: step 4, image 1 of 3 Amazon Echo Look Midframe Replacement: step 4, image 2 of 3 Amazon Echo Look Midframe Replacement: step 4, image 3 of 3
    • Lever the Jimmy between the screen and the device until an opening is formed.

    • Insert opening picks to hold the opening as needed.

    • Use a spudger to circle the border of the front panel and disconnect any lingering glue.

    • Step 3 may need to be repeated as Step 4 is time-sensitive.

  5. Amazon Echo Look Midframe Replacement: step 5, image 1 of 2 Amazon Echo Look Midframe Replacement: step 5, image 2 of 2
    • Remove the front panel by levering the spudger at the top of the device.

  6. Amazon Echo Look Midframe Replacement, Midframe: step 6, image 1 of 2 Amazon Echo Look Midframe Replacement, Midframe: step 6, image 2 of 2
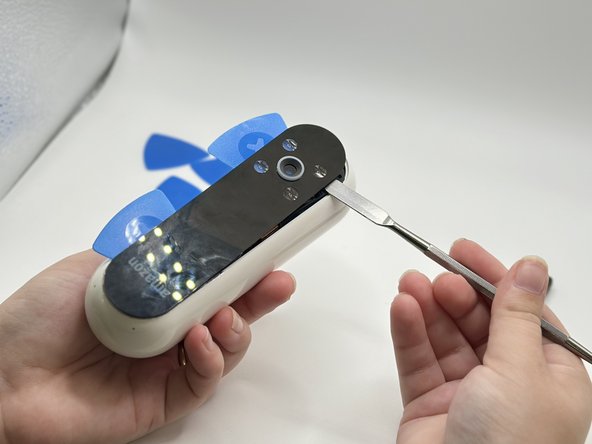
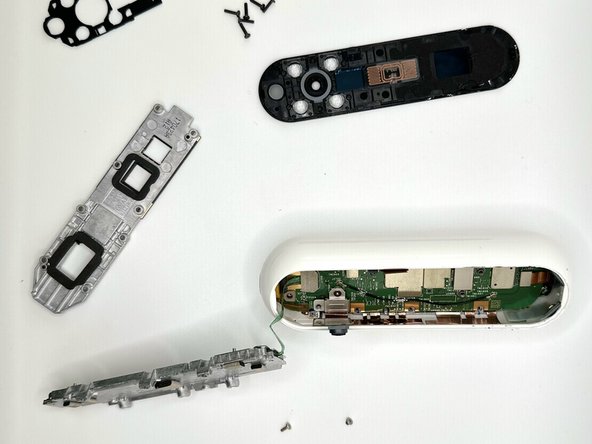
    • Remove the screws from the midframe with a Torx T5 screwdriver.

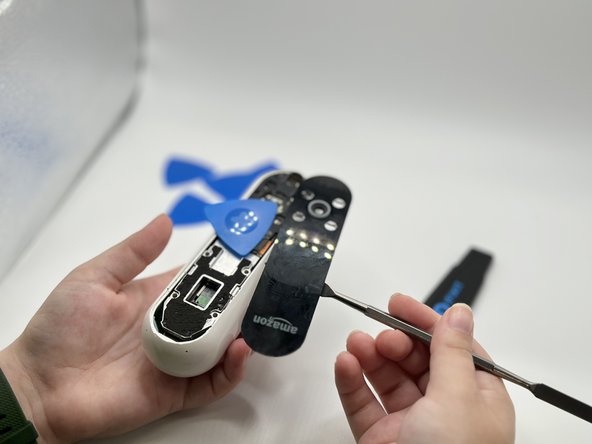
    • Lift up the midframe

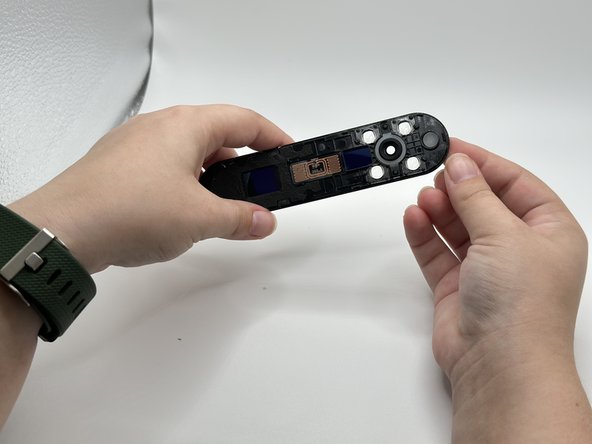
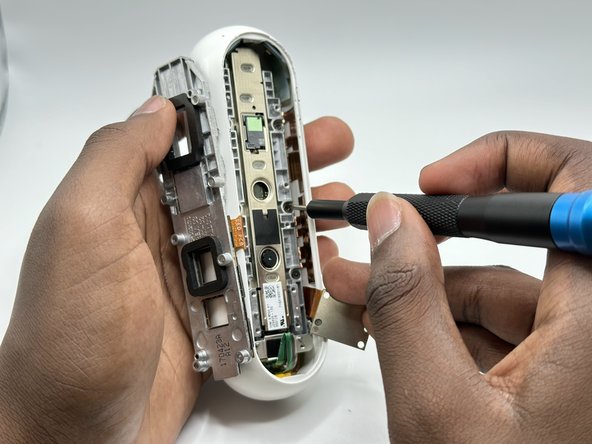
    • Remove the eight screws attached to the gray metal piece using a Torx T5 screwdriver.

  7. Amazon Echo Look Midframe Replacement: step 7, image 1 of 2 Amazon Echo Look Midframe Replacement: step 7, image 2 of 2
    • Use a spudger to gently lift up the ribbon until it detaches.

Conclusion

To reassemble your device, follow these instructions in reverse order.

0 Comments

Add Comment

View Statistics:

Past 24 Hours: 0

Past 7 Days: 0

Past 30 Days: 2

All Time: 31