Change the oil in your first generation Neon equipped with a single overhead cam engine to keep it running strong. Regular oil changes are one of the easiest DIY maintenance procedures to prolong engine life.
For years, 3,000 miles was the correct interval to wait between oil changes, but that is no longer the case. Conventional oil in today's engines can easily last over 5,000 miles between changes. Synthetic oils are even more durable, maintaining good engine performance beyond 10,000 miles.
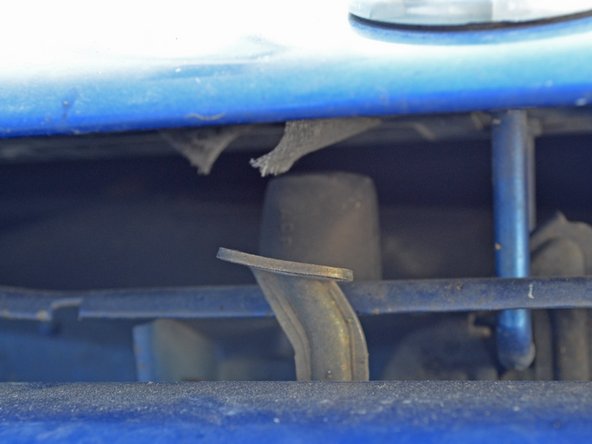
Begin jacking up the front driver's side corner of the car by placing a jack between the two notches towards the front of the car on the long vertical part of the frame.
It is helpful, but not necessary, to jack both sides of the car. Since the oil drain plug drains slightly to the passenger side of the vehicle centerline, jacking up just the driver's side is sufficient.
Slide the jack stand under the car, slightly left of the jack where the metal is still reinforced, and raise it as high as it goes before hitting the frame.
You can release the jack and let the car rest on the jack stand, but we prefer to leave the jack in the reinforced area with the jack stand in place as a fail-safe.
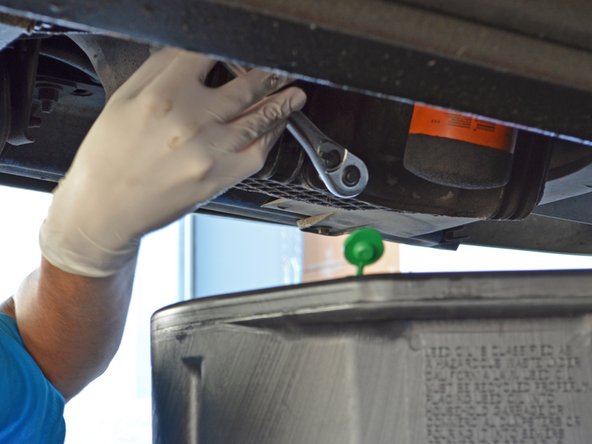
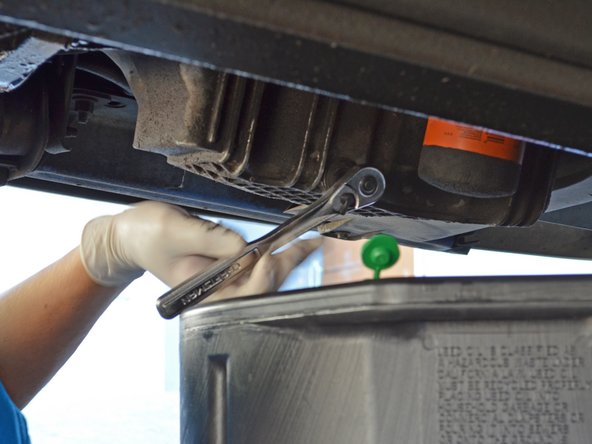
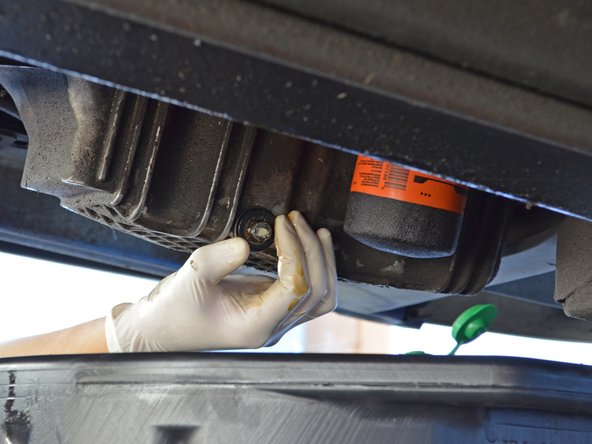
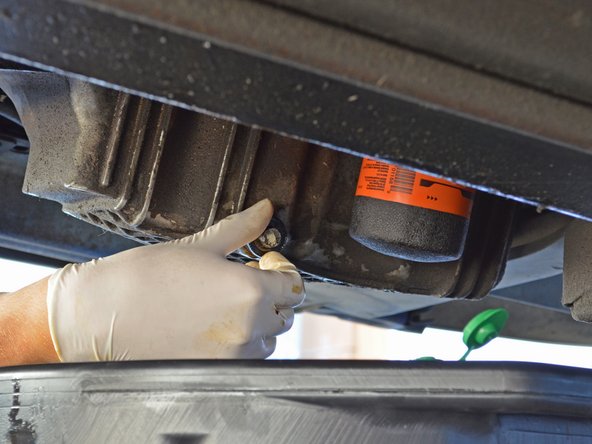
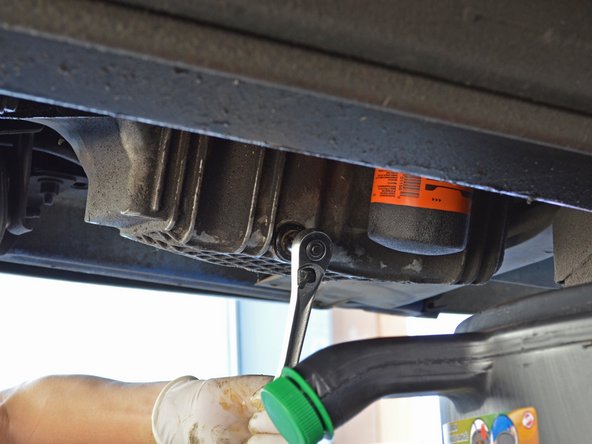
Finish tightening the oil drain plug with a 13 mm socket wrench.
Only tighten the drain plug until it is snug. Over-tightening the oil drain plug can strip or crack the oil pan—a very costly error. You can always tighten the drain plug more later.
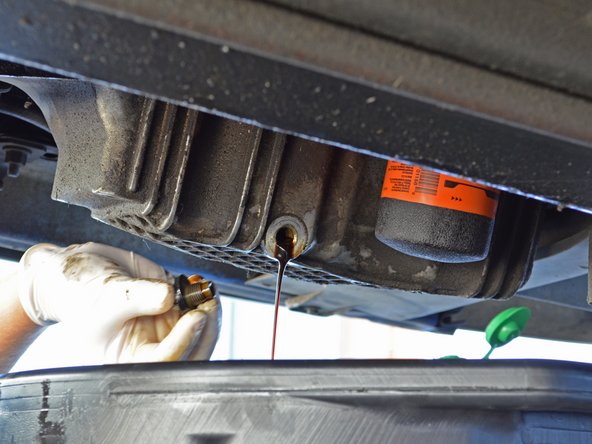
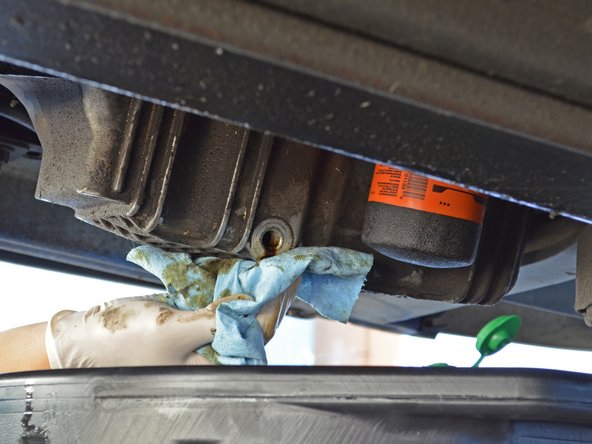
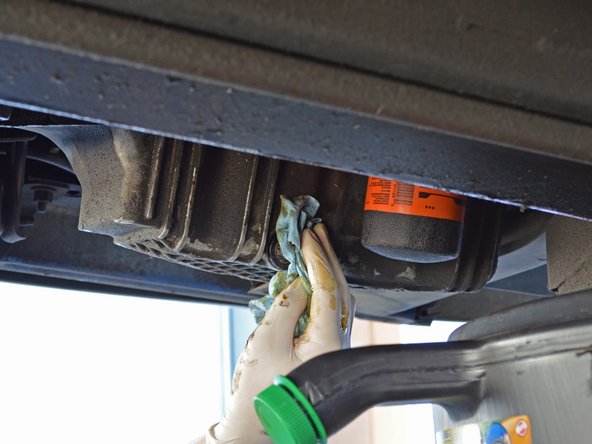
Wipe off the area around the drain plug one more time with a rag or towel.
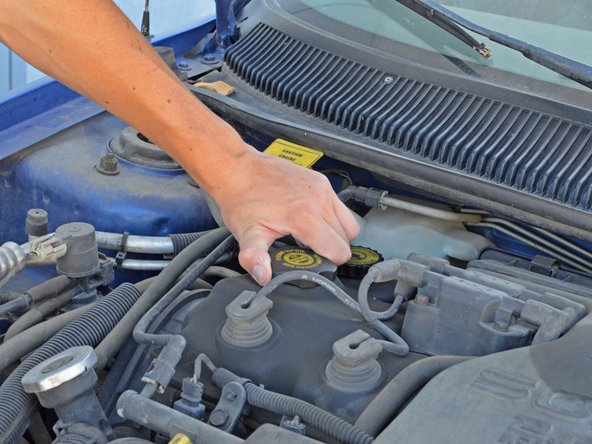
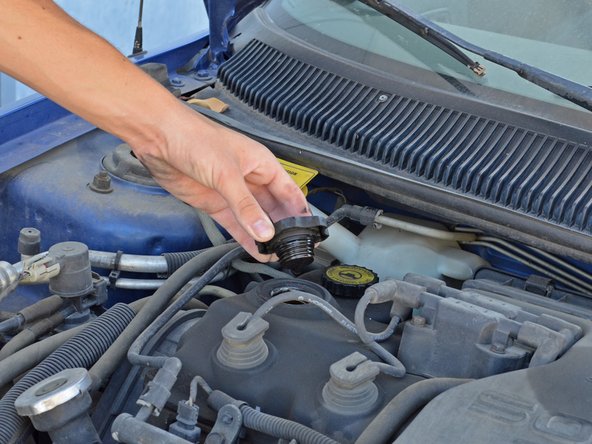
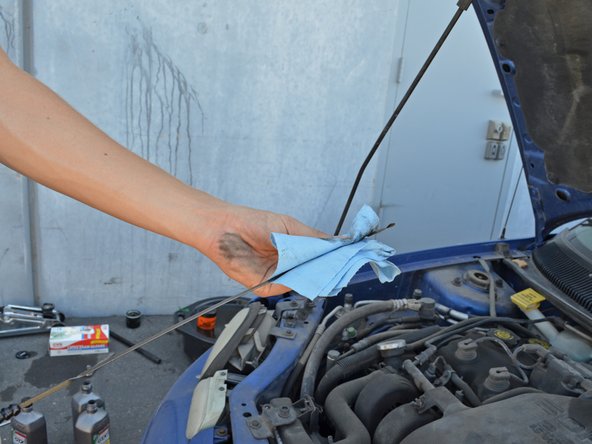
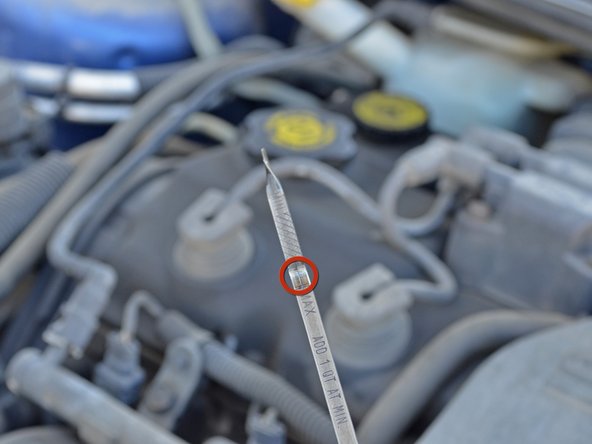
Insert the dipstick back into the hole. Press it all the way in, then remove it.
There should be a thin layer of oil up to the bump on the dipstick labeled "MAX."
The bump indicates the maximum amount of oil that should be in the tank while the twist at the end indicates the minimum amount. Anywhere in the cross-hatched middle area is sufficient.
After checking if the oil level is too high or too low, you can add or remove oil accordingly.
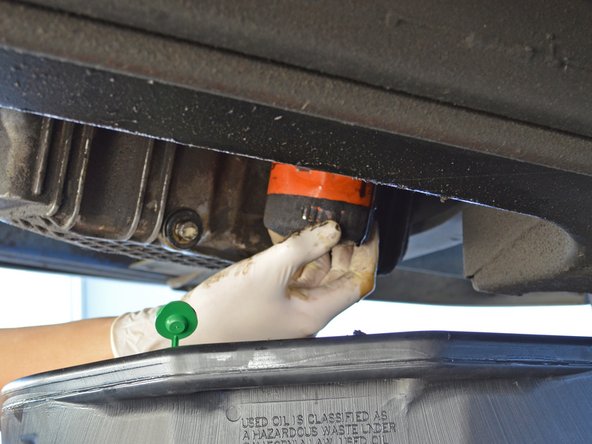
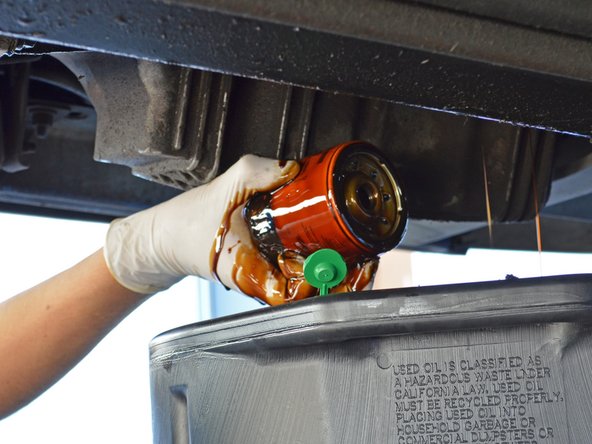
Allow 12-24 hours for all of the oil to drain out of the old oil filter.
Take your old oil and filter to a recycling facility. Most auto parts stores and repair shops accept these at no charge to you. In addition, some cities and/or counties have a service where they will collect used oil and filters from your home. For more information, see the American Petroleum Institute's web page on used motor oil collection and recycling.