Introduction
A fully functional set of turn signals is not only required by law, but vital for good communication and overall road safety. If one or more of your turn signals have stopped working or are not functioning properly, you may have a bad flasher unit.
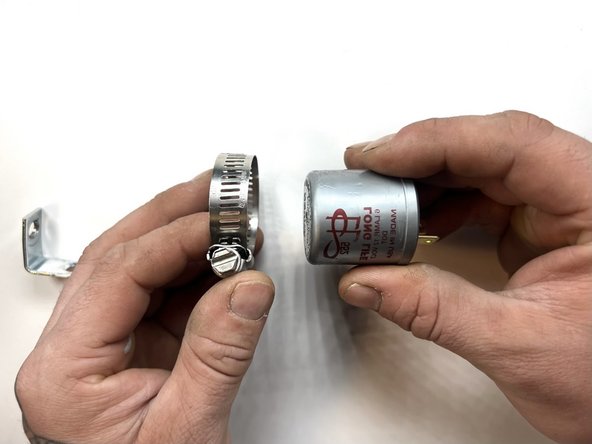
In this tutorial, we will demonstrate how to replace the flasher unit on a 1978 Datsun 280Z.
Warning: This procedure includes tasks that can cause severe damage to your equipment and health if you fail to follow the precautions outlined within this procedure.
What you need
-
-
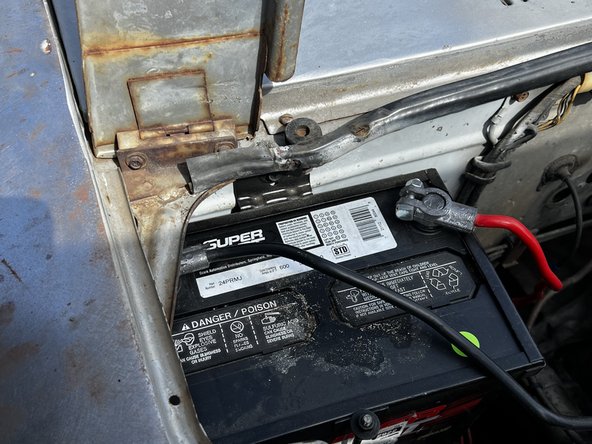
Locate the hood latch on the bottom left side of the steering wheel.
-
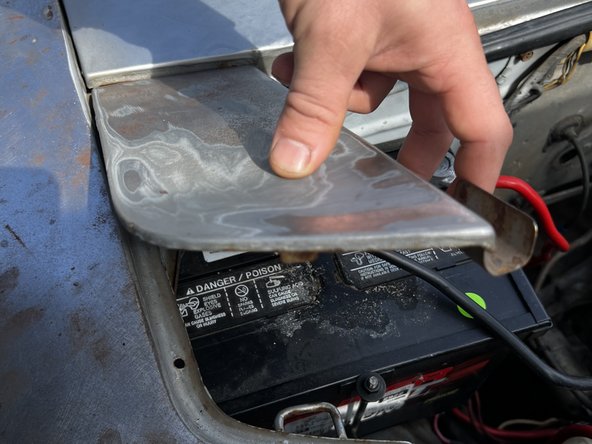
Pull the latch to release the hood.
-
-


Close the hood and you’re done!
Close the hood and you’re done!
Cancel: I did not complete this guide.
One other person completed this guide.

Team

CSU Sacramento, Team 1-2, Laflen Spring 2024 Member of CSU Sacramento, Team 1-2, Laflen Spring 2024
CSUSAC-LAFLEN-S24S1G2
1 Member
1 Guide authored